

Introduction
Garden Quest is an application that allows users to experiment with Augmented Reality by placing 3D plants and structures into their gardens. The app will educate, teach, and reward users as they take part in their own ‘Garden Quest.’ It will help the users engage in activities in their garden by providing inspiration, education, and goals to the user.
Research
David Attenborough’s VR experience

Viewers can experience digitally enhanced AR worlds with David Attenborough. This is an example of how AR assets and information can be used to create a unique educational experience.
Viridi- Ice Water Games
Viridi allows the user to grow succulent plants, which change and grow over time. Inspiration will be taken from the plant’s simple but visually effective designs when designing the plants for Garden Quest.
Potioneer: The VR Gardening Simulator
This VR game allows users to tend to their virtual gardens and grow plants. Inspiration will be taken from this game by using the 3D plant and structure assets to inspire the growth of plants in the user’s gardens instead of in a virtual reality space.
Aims
The main aims of the project are as follows;
- To create an app that allows users to view 3D assets of plants and structures in Augmented Reality.
- Create brand UI kit and determine typography and colour schemes.
- Create a low-fidelity app with wireframes and conduct user testing. Collect feedback before creating a high-fidelity app.
- Create an app that has multiple functions and purposes of keeping the user engaged (e.g. live chat, community chat forums, news, seasonal to-do diary, and tasks.)
Idea Generation and Research
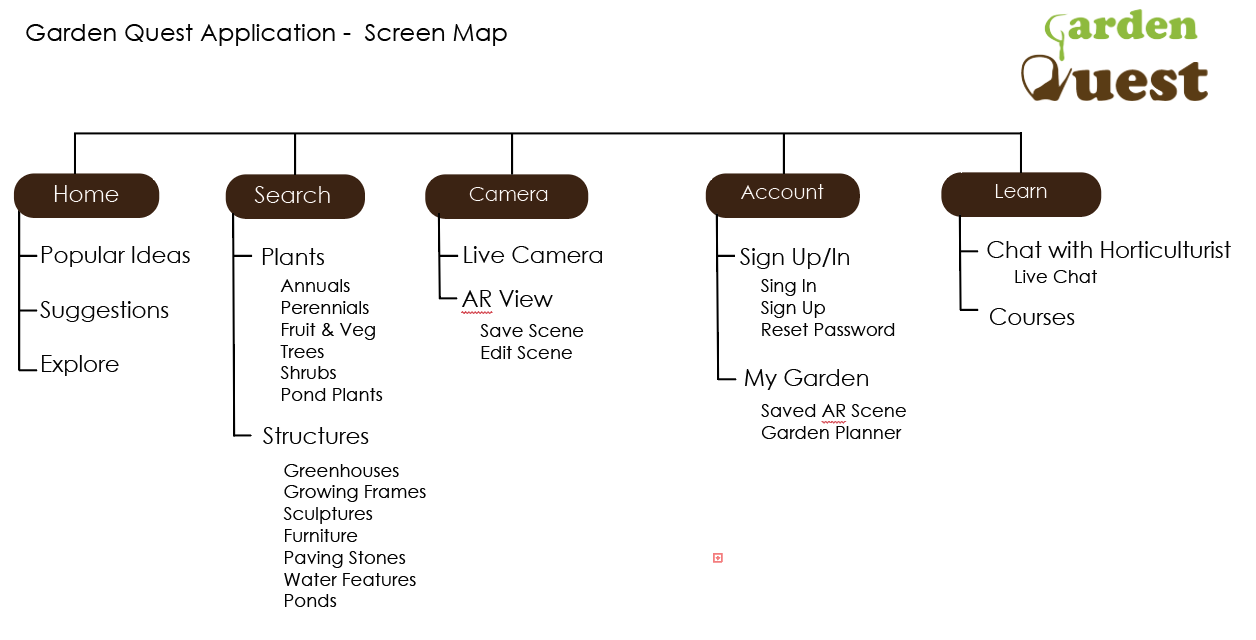
The screen map displays the page screens of the app and their contents. The map breaks down the app’s key features and functions to plan the first low-fidelity prototype.
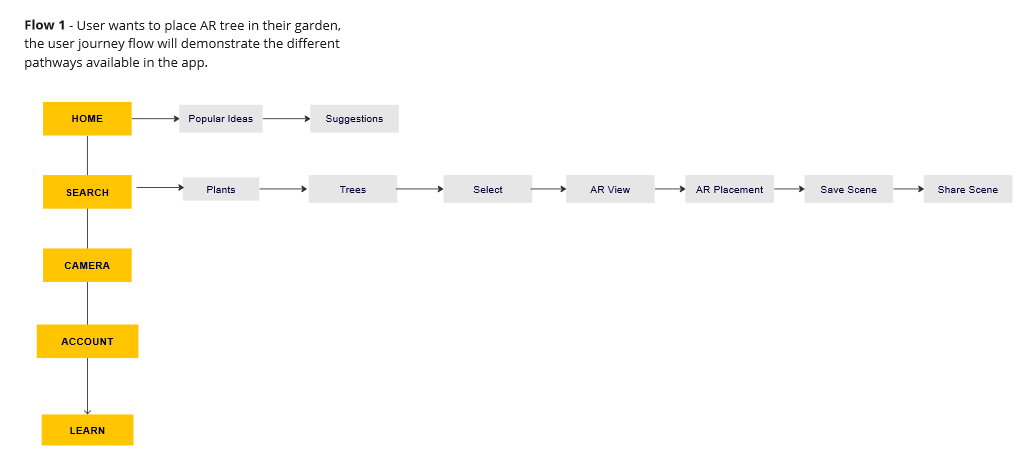
User Flow Journeys
The user flow journey explores the different paths users take in the app based on their needs. In the first example, flow 1 is based on a user wanting to place an AR tree in their garden.
In the second example, flow 2 features the user flow when a user wants to contact a horticulturist.

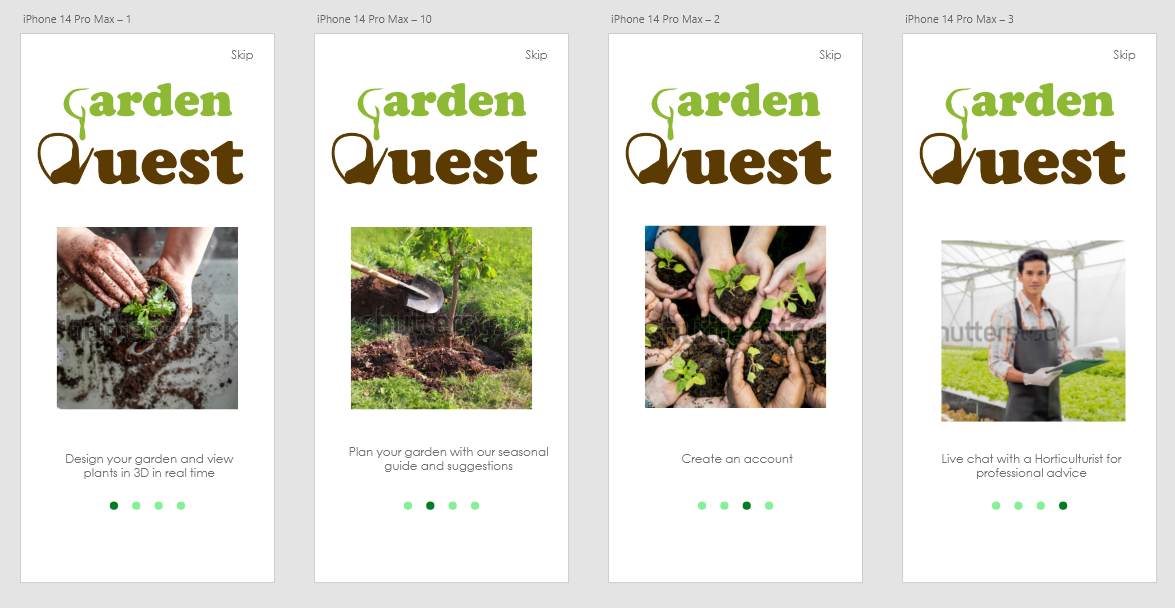
Mid-Fidelity Prototype
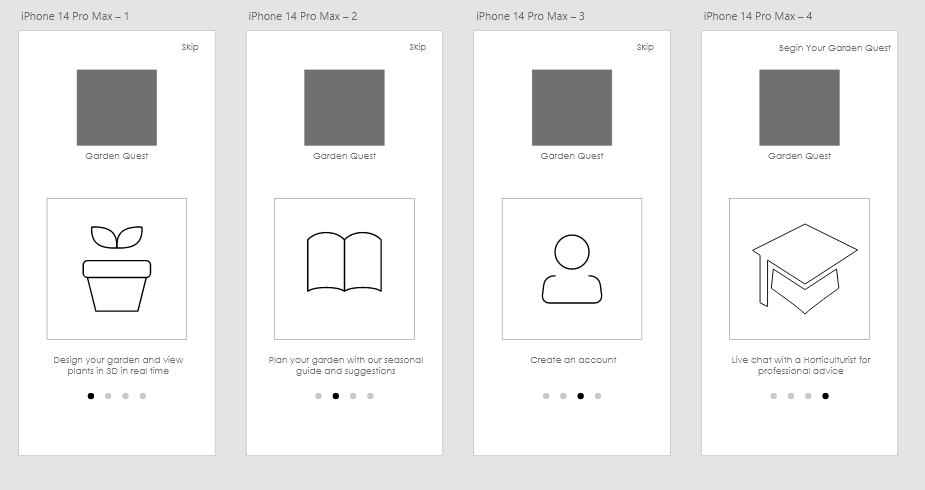
The onboarding screen shows what users will see when they first open the app, it gives an introduction to the features available.
The user screens show the different pages on the app within the menu, including; Home, Search, Camera, Account, and Learn.

Usability Testing
A test group of participants were provided with tasks to conduct within the mid-fidelity app prototype, these are listed below;
- Locate the Live Camera View and select the add 3D plant option.
- Locate the Learn page and start a live chat with a horticulturist.
- Locate the Account page and create an account on the app.
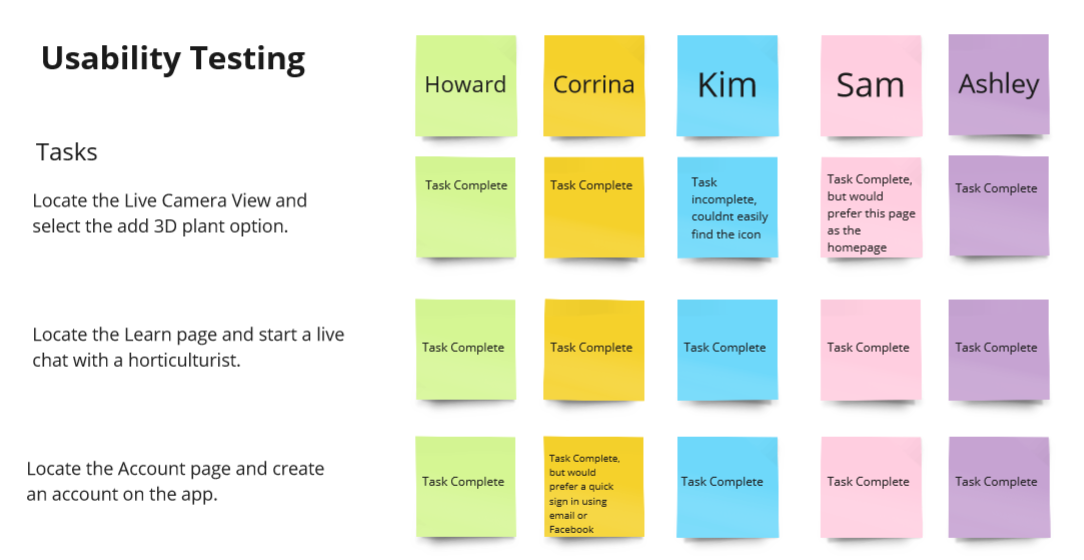
Participant feedback is listed below;
- 90% of participants prefer navigating the icon menu at the bottom of the screen instead of the hamburger menu.
- 80% of participants would prefer to skip the onboarding screens.
- 60% of participants would like a video chat with a horticulturist instead of a live chat.
- 30% of participants would like a diary planner page to keep up with the care of selected plants.
High Fidelity Prototype
The onboarding screens provide users with an introduction to the experiences available within GardenQuest. There are limited screens to retain the user’s attention and keep them engaged. The users can skip these screens if needed to go straight to the app’s main content.
The main purpose of the primary screens is to direct the user to create an AR scene. Additional screens have been added to retain users by providing in-app engagement. In particular, the ‘Chat’ screen will engage users by providing a social aspect to the app where users can join a local community forum, attend weekly socials, participate in events, and showcase their gardens.
Introducing a social and community aspect to the app is intended to provide positive social functionality in the form of local support groups for individuals to connect and make friends with other GardenQuest users. This addition was inspired by Sarah Wakefield et al in the study ‘Growing urban health: Community gardening in South-East Toronto‘ which suggests;
“Community networks and social support were developed through the gardens. The gardens were seen by many as a place where communication with people from other cultures could begin, using food and shared experience as a starting point for understanding. This was seen to help to bring people out of isolation, and served as a starting point for broader discussions of community issues”


User Flow – Adding VR Plant

The user flow demonstrates the amount of screens used for the user to add a 3D plant to their garden. The number of screens will depend on whether or not the user wants to save their scene to their account or not, if it is just a casual browse then the user will only see three screens (add 3D plants>scan area>place 3D plant.)
Wireframes in XD

The link to test the prototype of the wireframes can be accessed here;
https://xd.adobe.com/view/6fee065e-8c91-411d-a5cd-46248bf12a84-3abd/
Logo Design
The final logo for Garden Quest and the variations in design ideas are shown below.


Graphic Standards
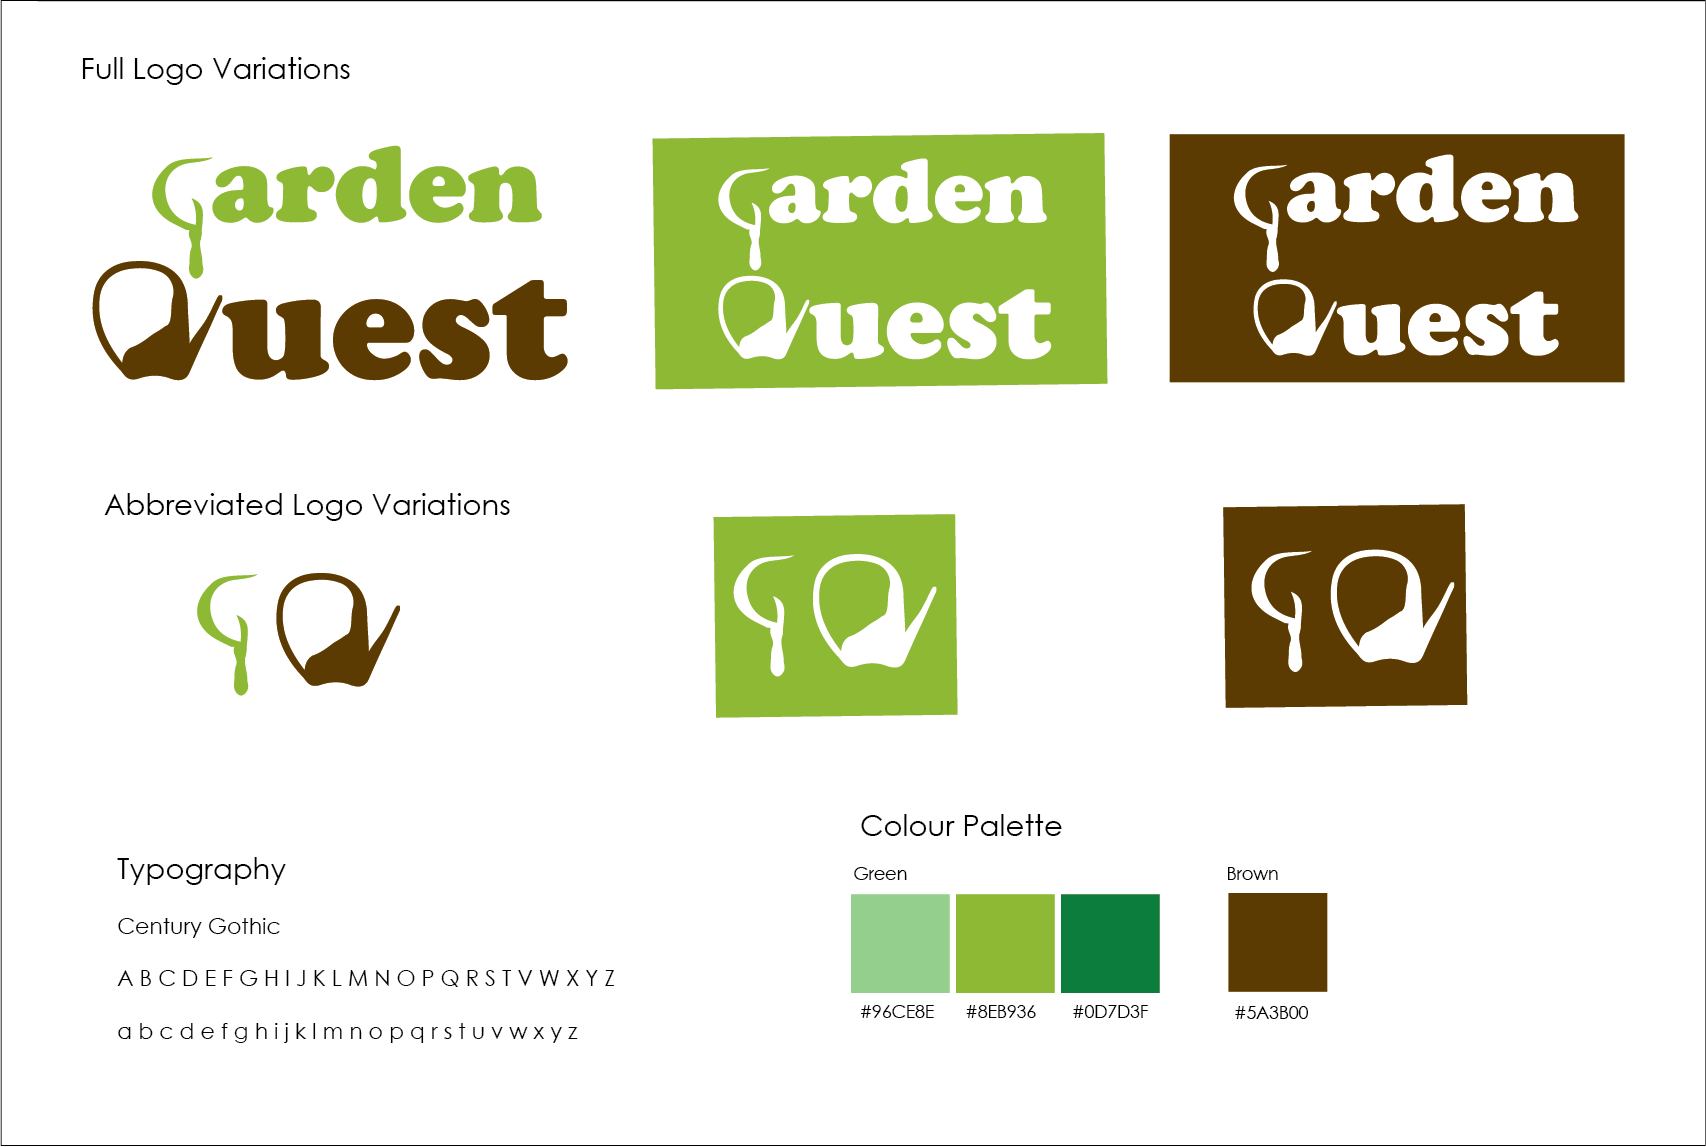
The colors used signify recognizable earth and nature tones. The word “Garden” is a lush spring green colour which suggests growth and new beginnings. the word “Quest” is brown and signifies the soil and growth. The typography is bold, serif, Cooper Black, which is easily readable and familiar to users which will initially create trust and familiarity with users.
Software Proficiency
Maya software was used to create the 3D assets, these will be exported to Adobe Substance Stager to add texture and colour. The final task will be to test the assets in Adobe Aero and experiment with them live from a smartphone camera.
Maya
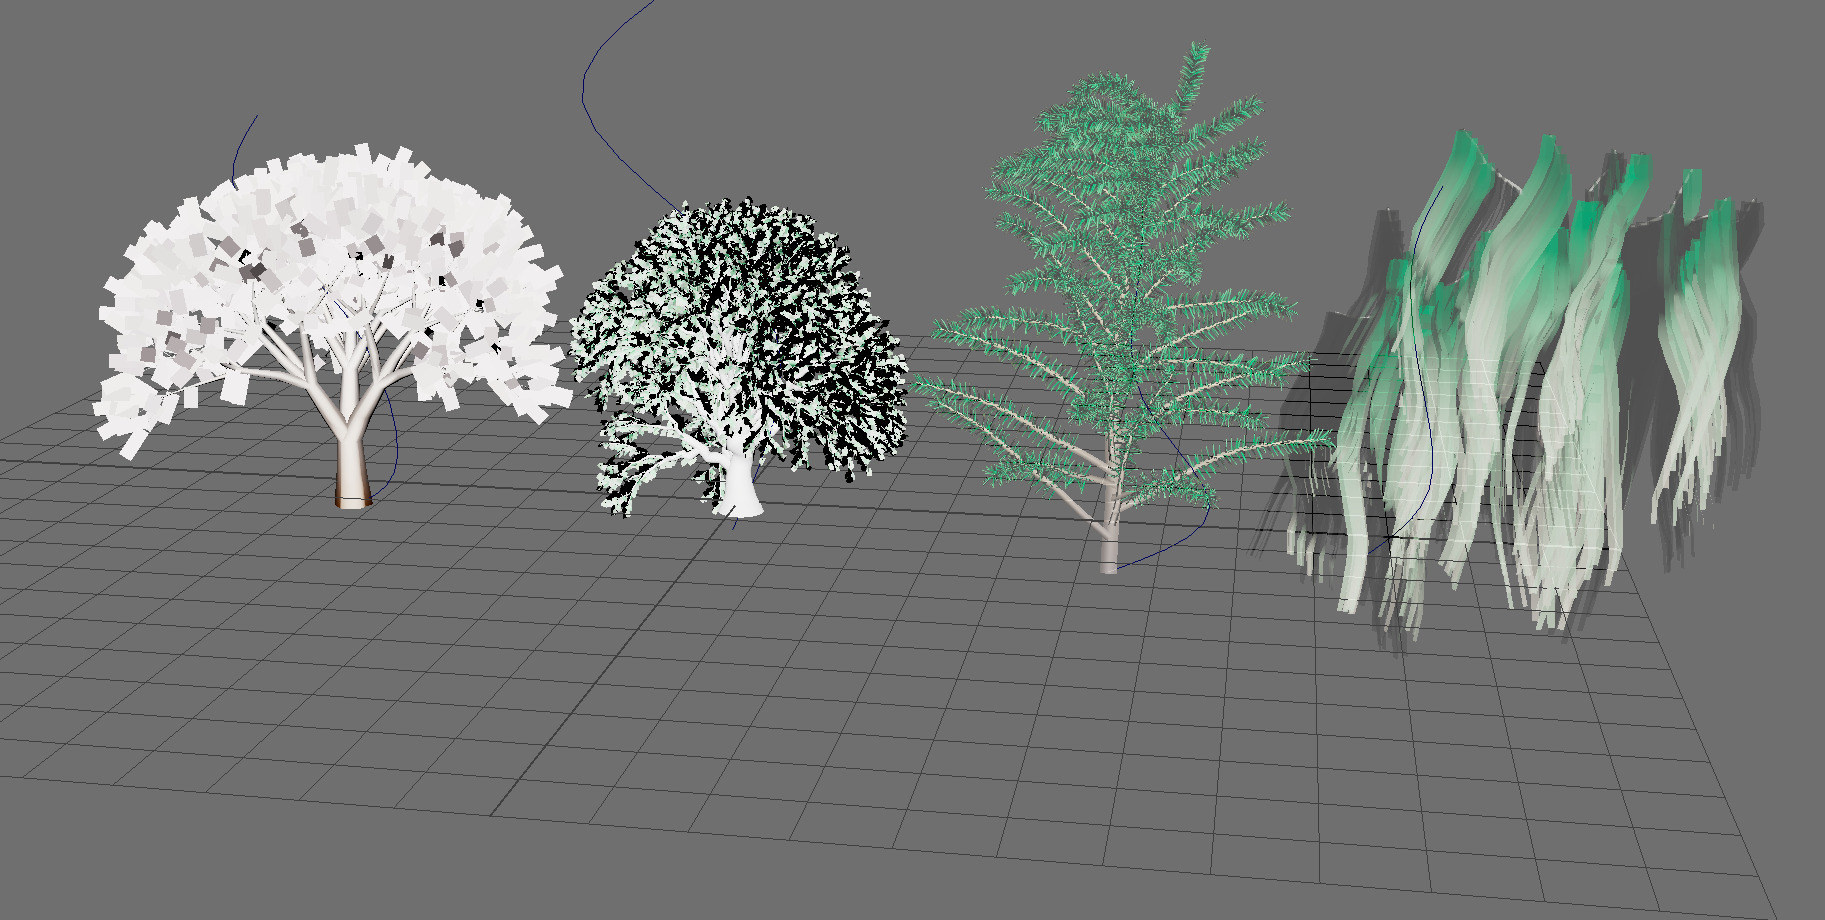

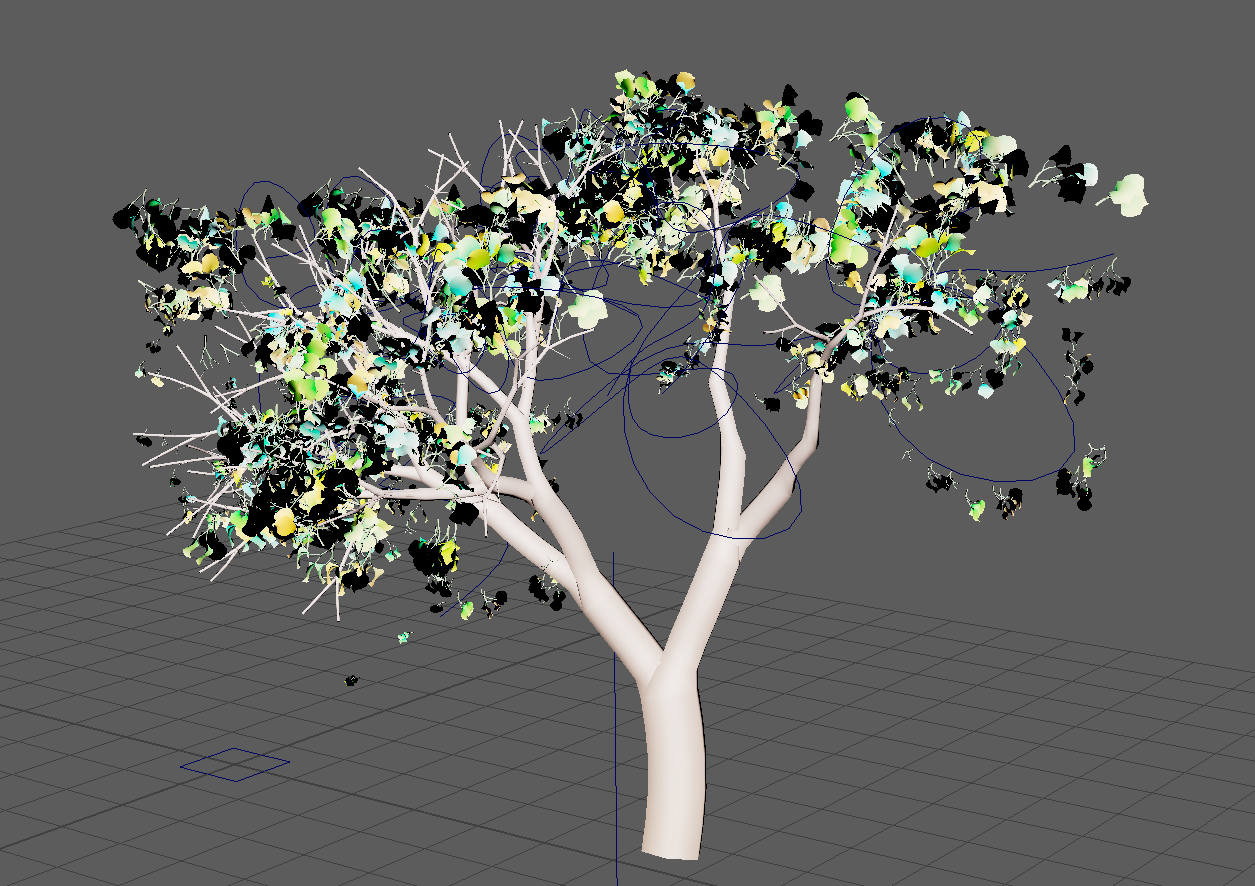
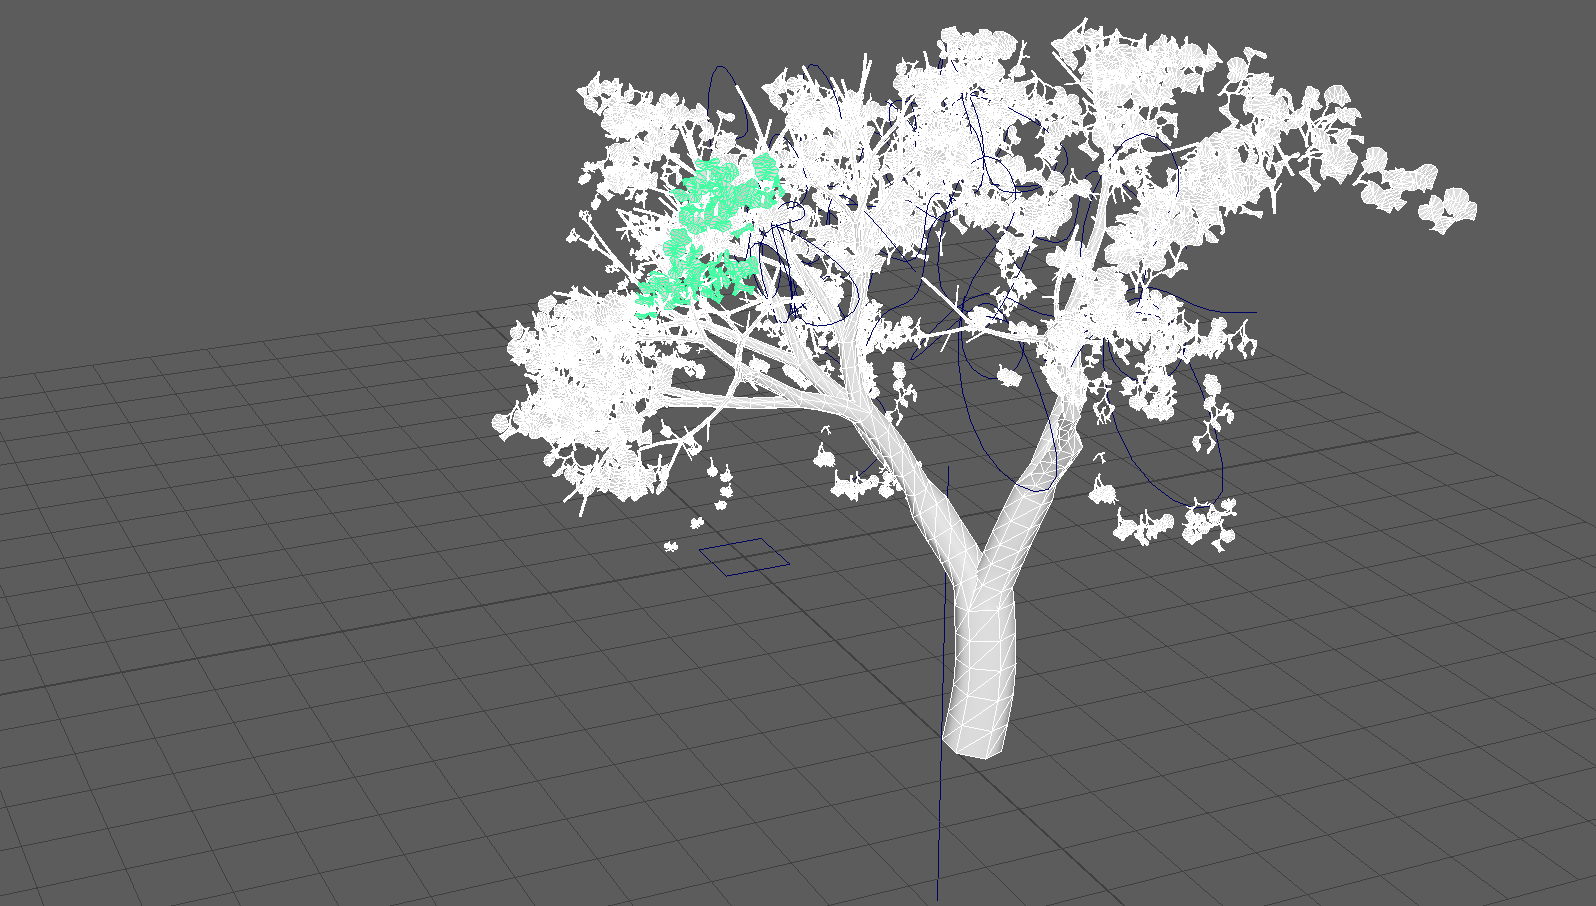
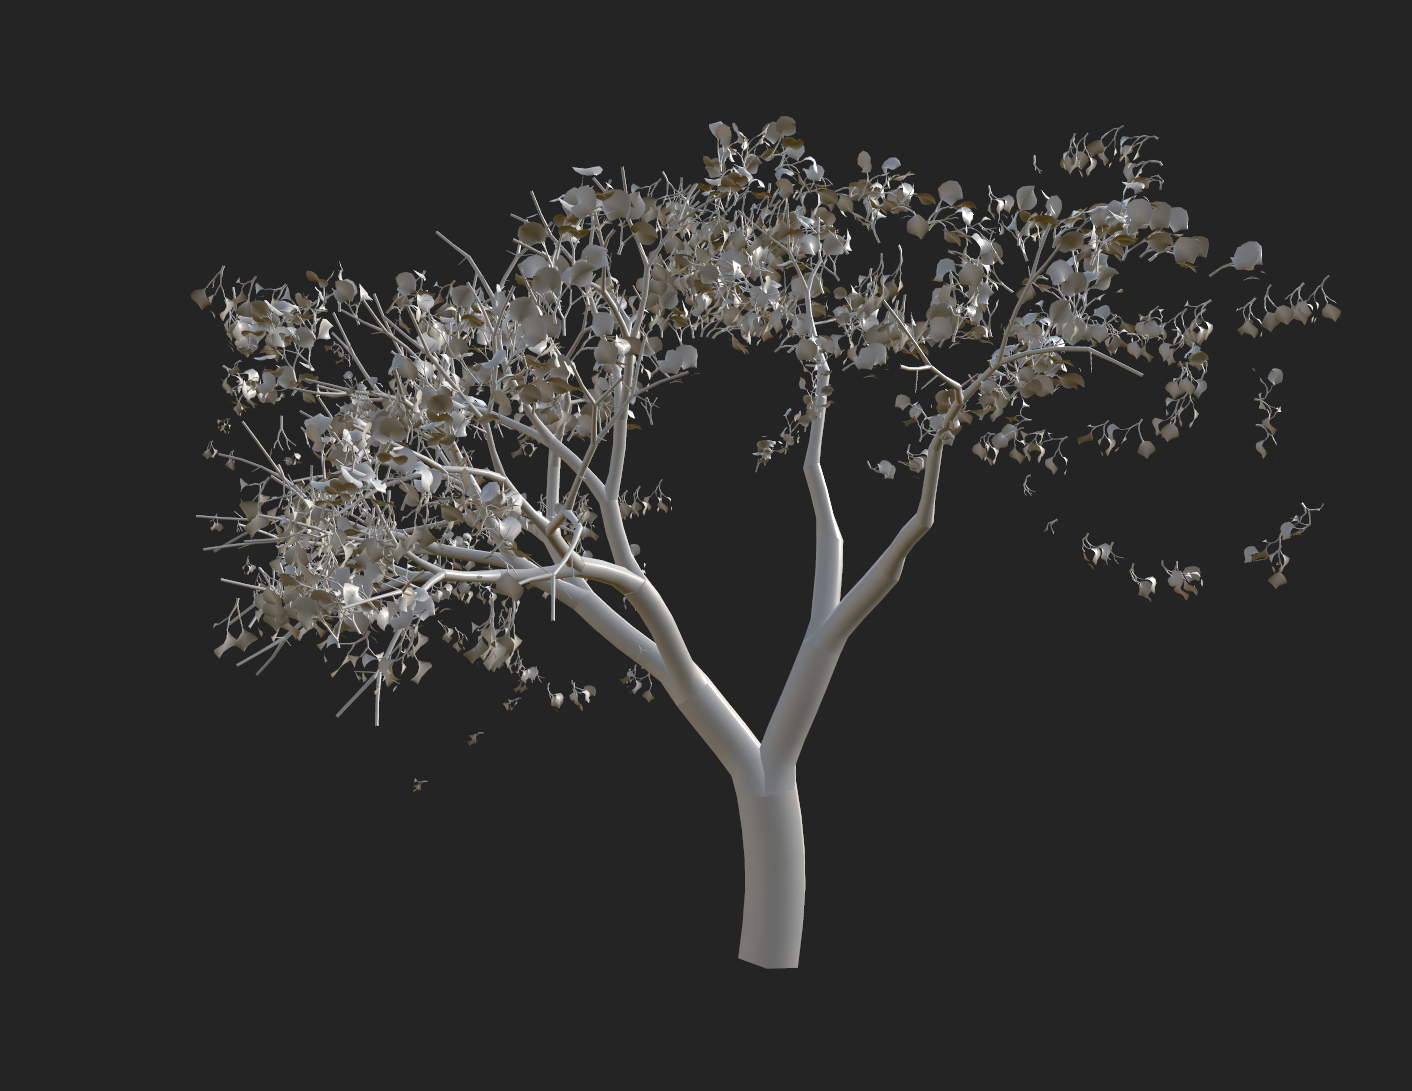
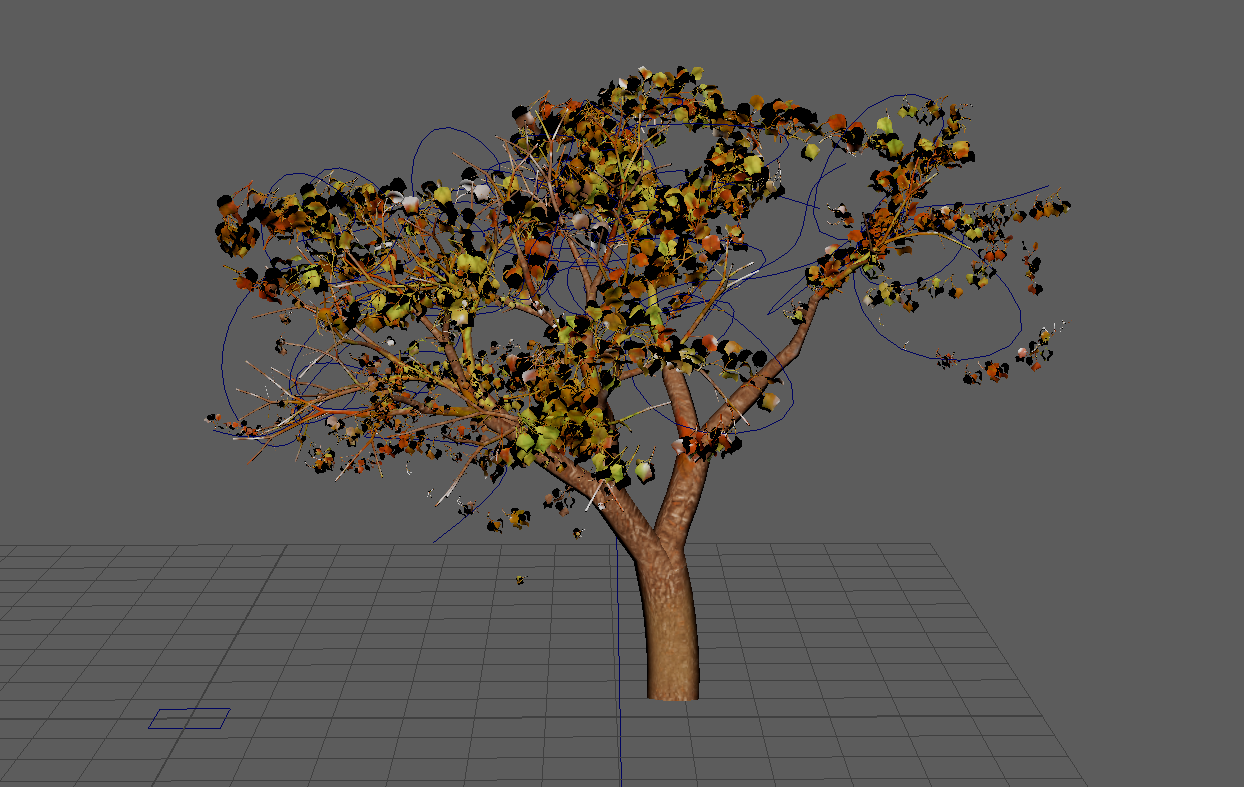
To create the tree asset, a brush tool was used from Maya’s asset library, leaves were added in sections by attaching the leaves onto a path drawn around the branches in a cluster. These leaves were given varying sizes and growth directions to add to the realism of the tree.
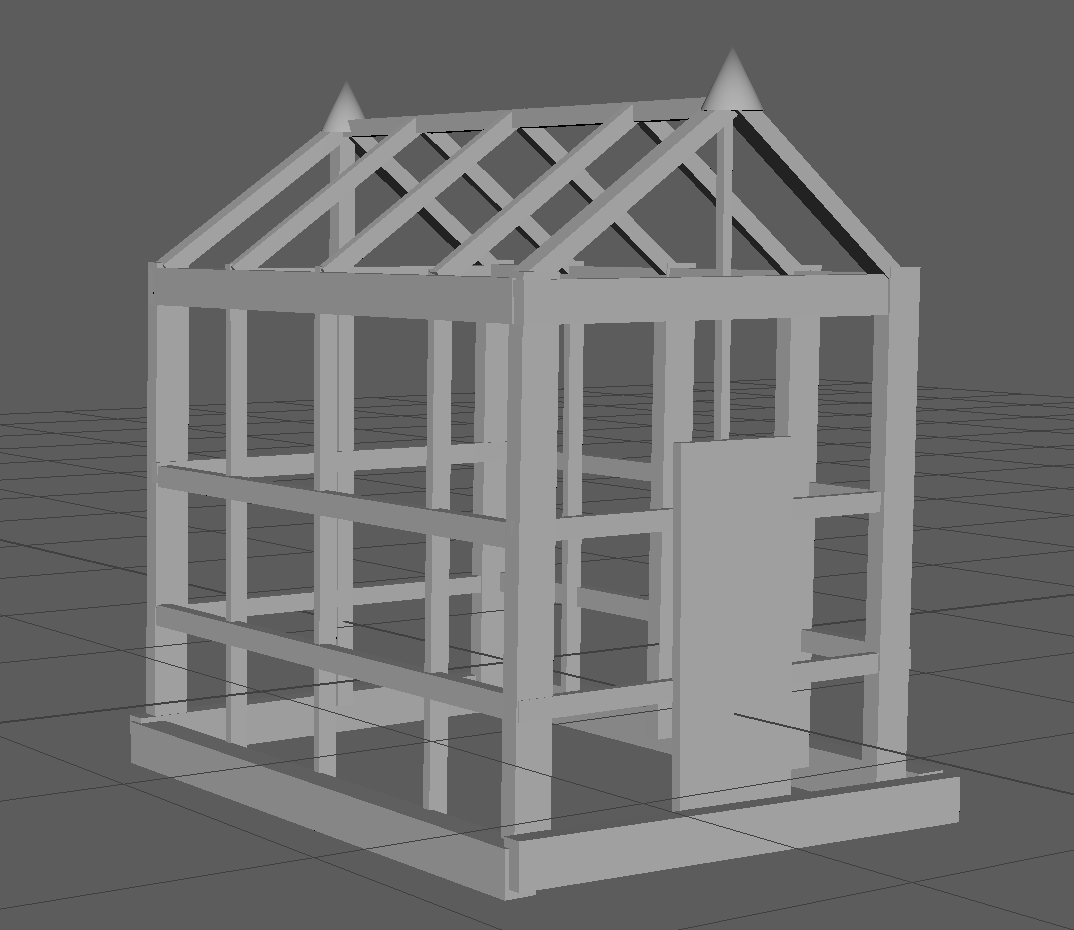
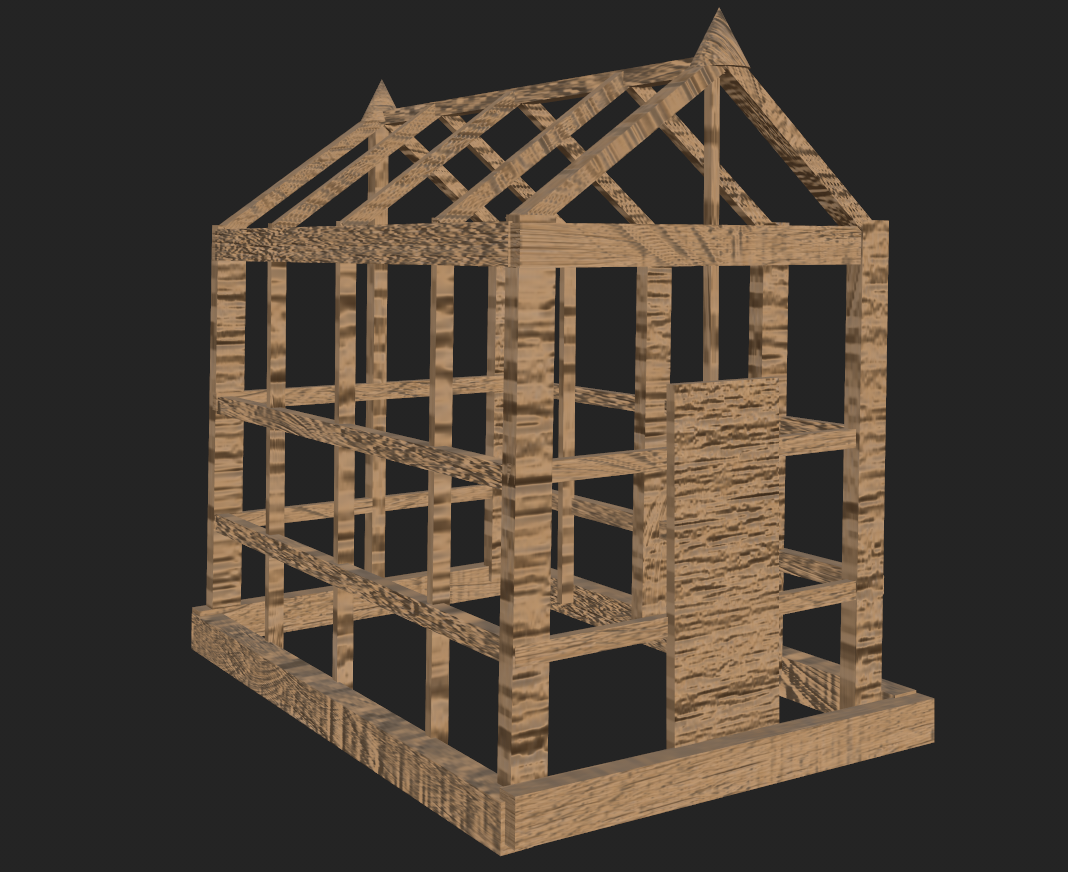
The greenhouse was created using different polygons and shapes, this created an asset that has a traditional cottage garden aesthetic.
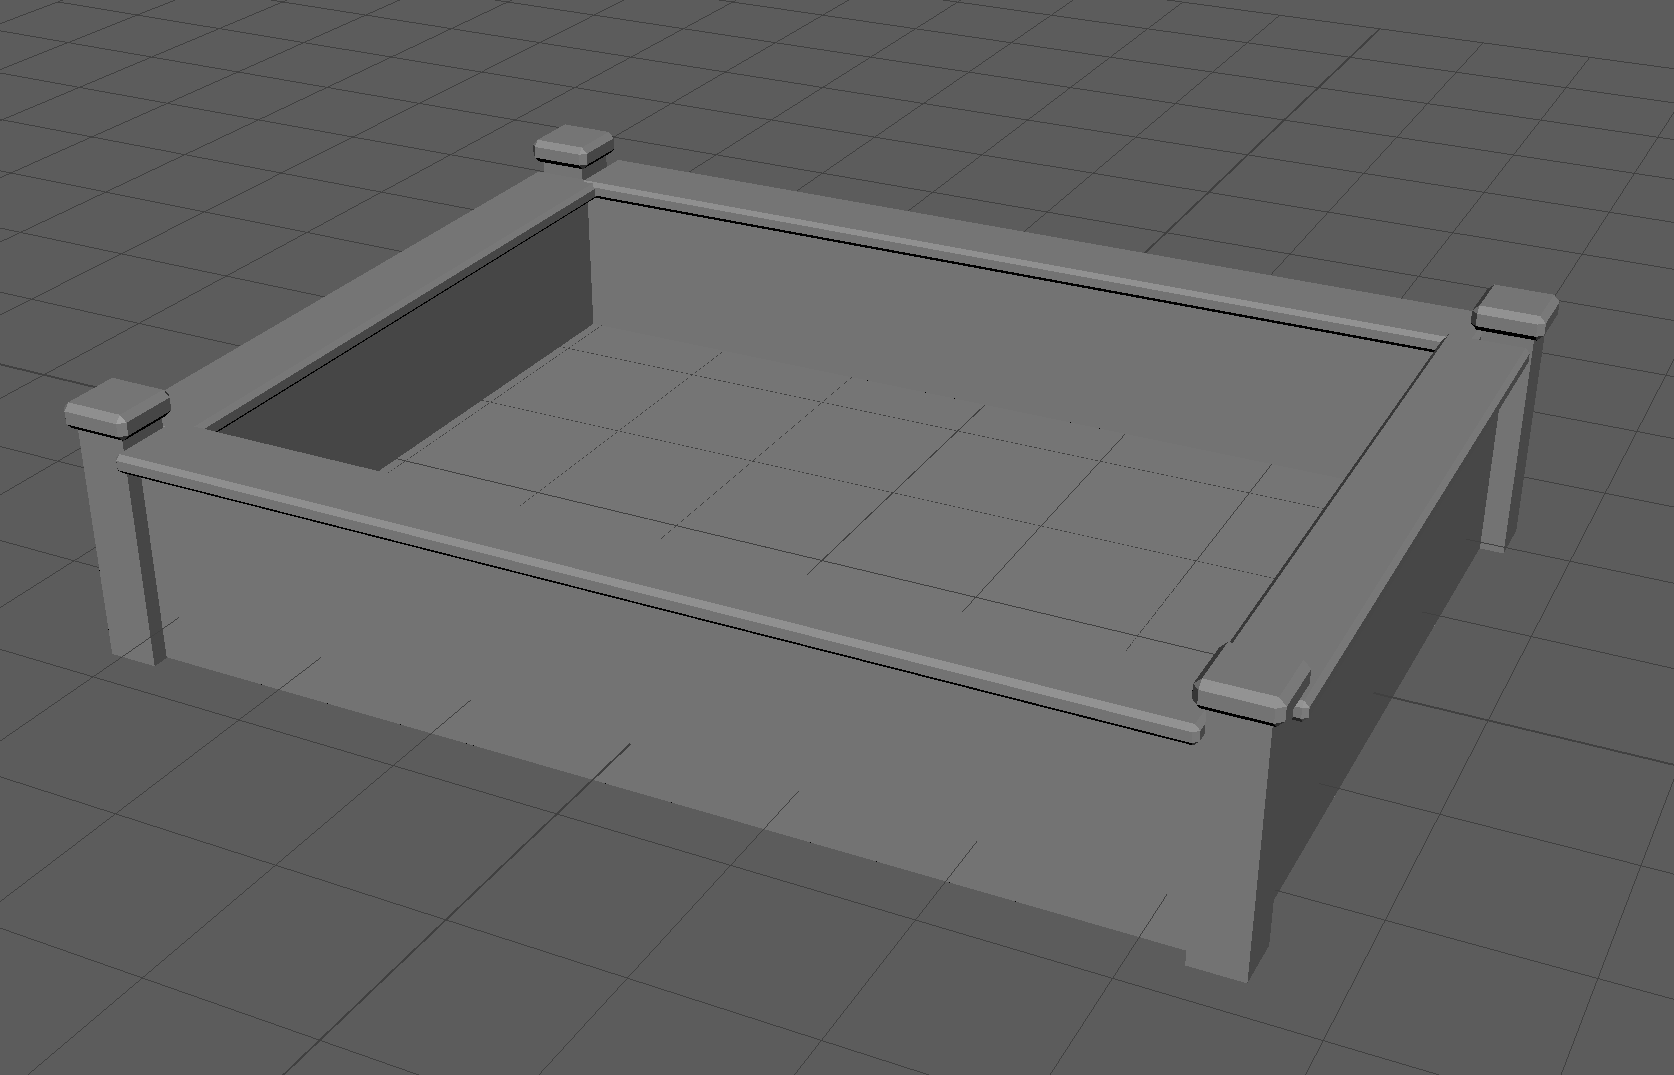
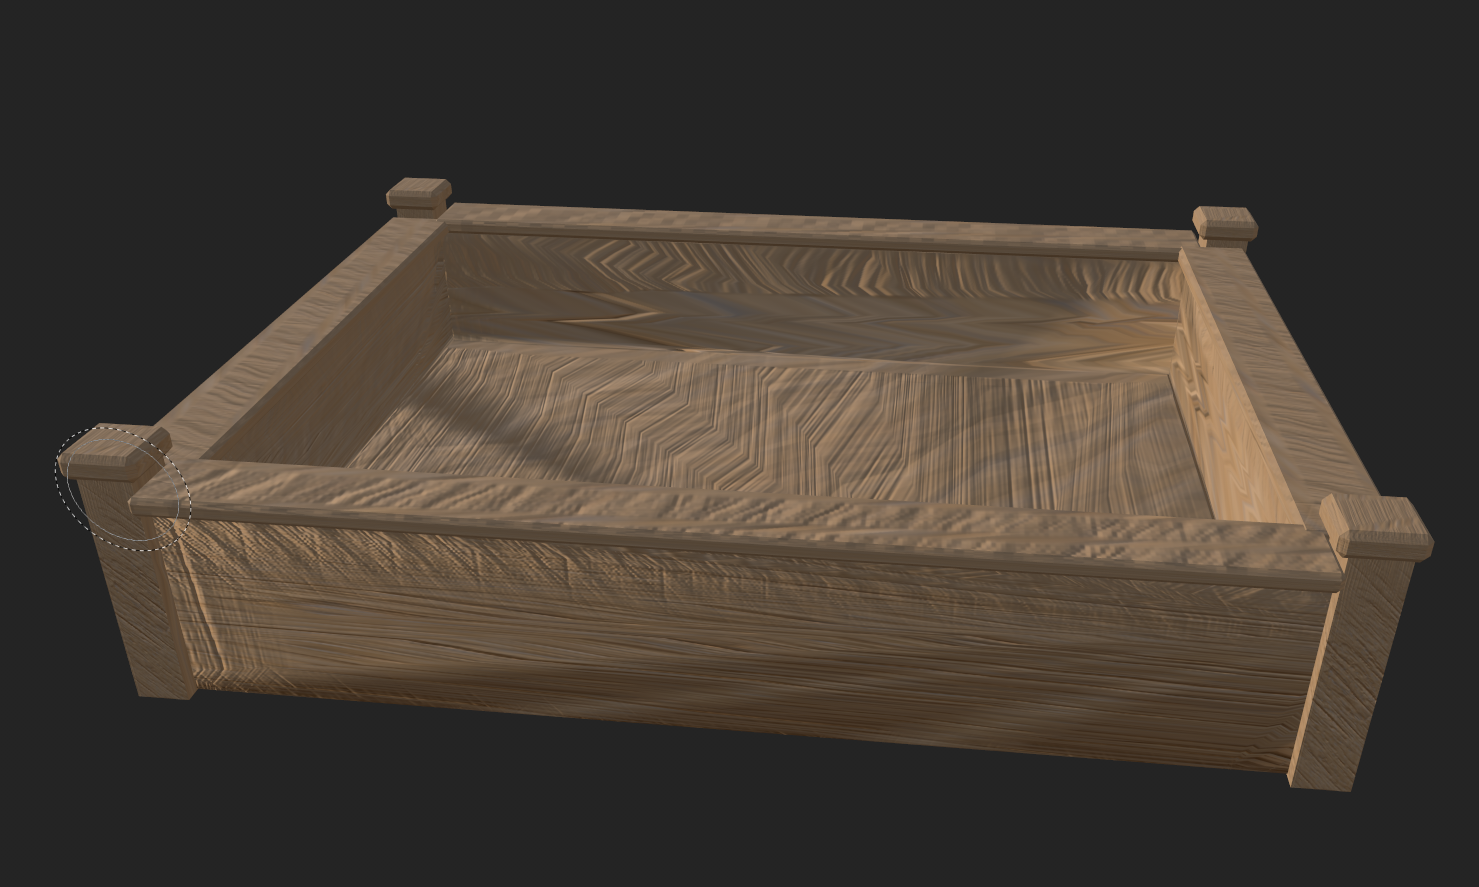
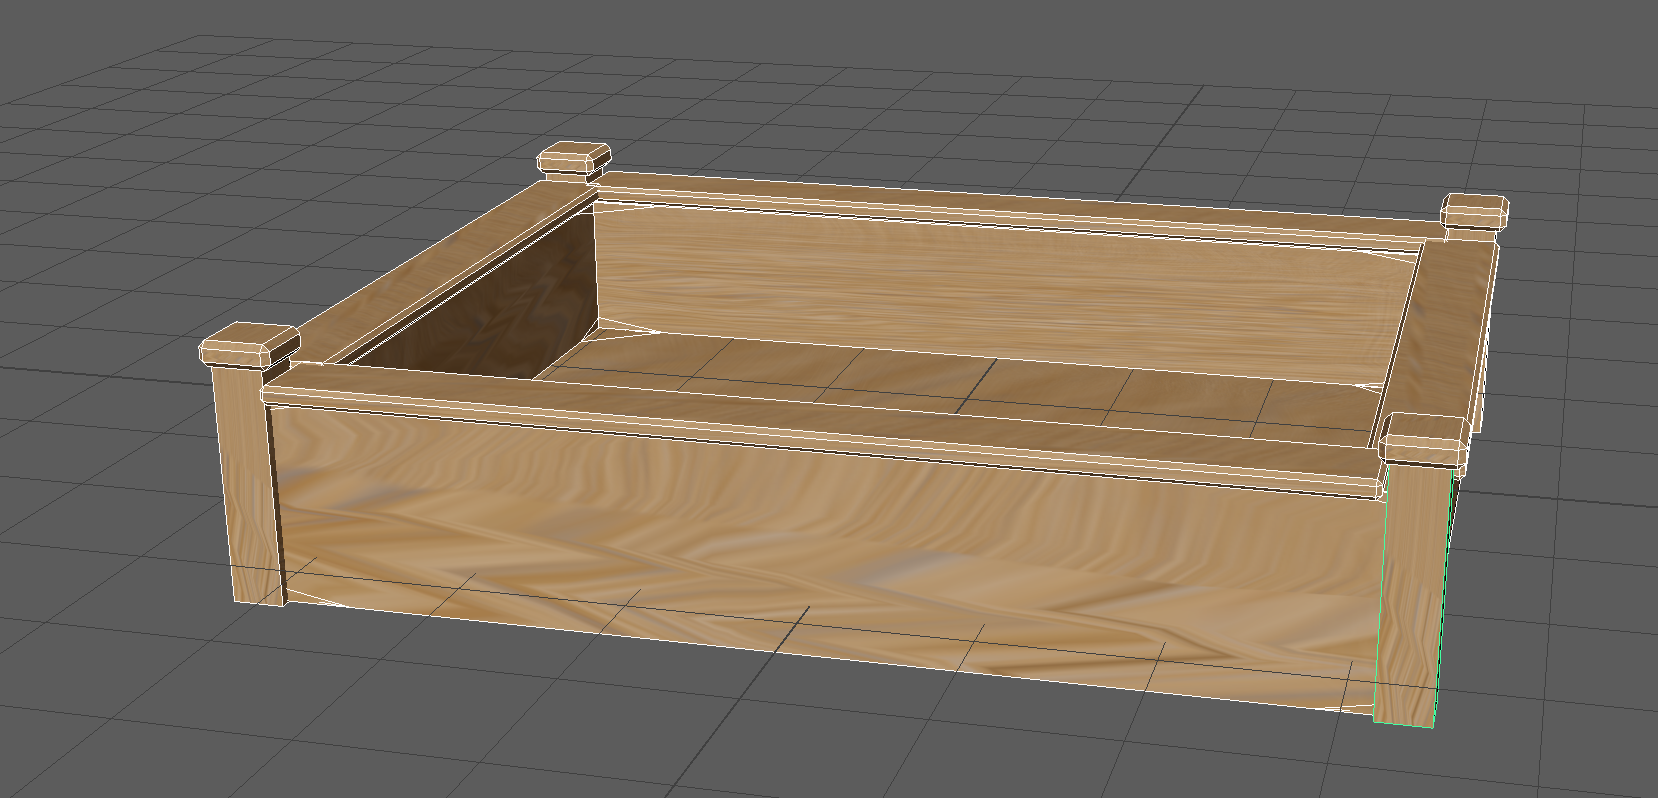
The raised bed was created using different-shaped cube polygon meshes, the edges of the pieces are beveled to give it a prestige and custom-built aesthetic.
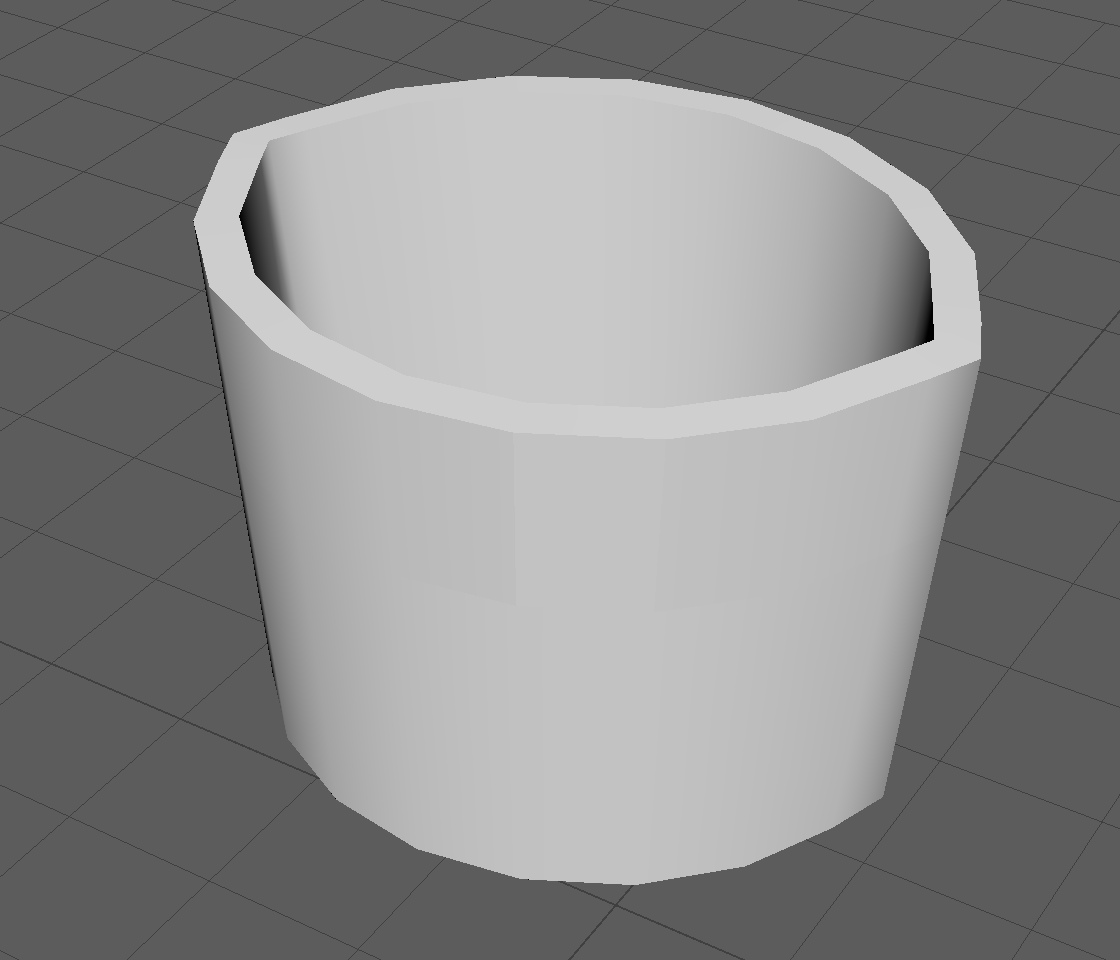
The plant pot was created by sinking the face of a cylinder polygon and then adding beveled edges, this is now ready for textures to be added.
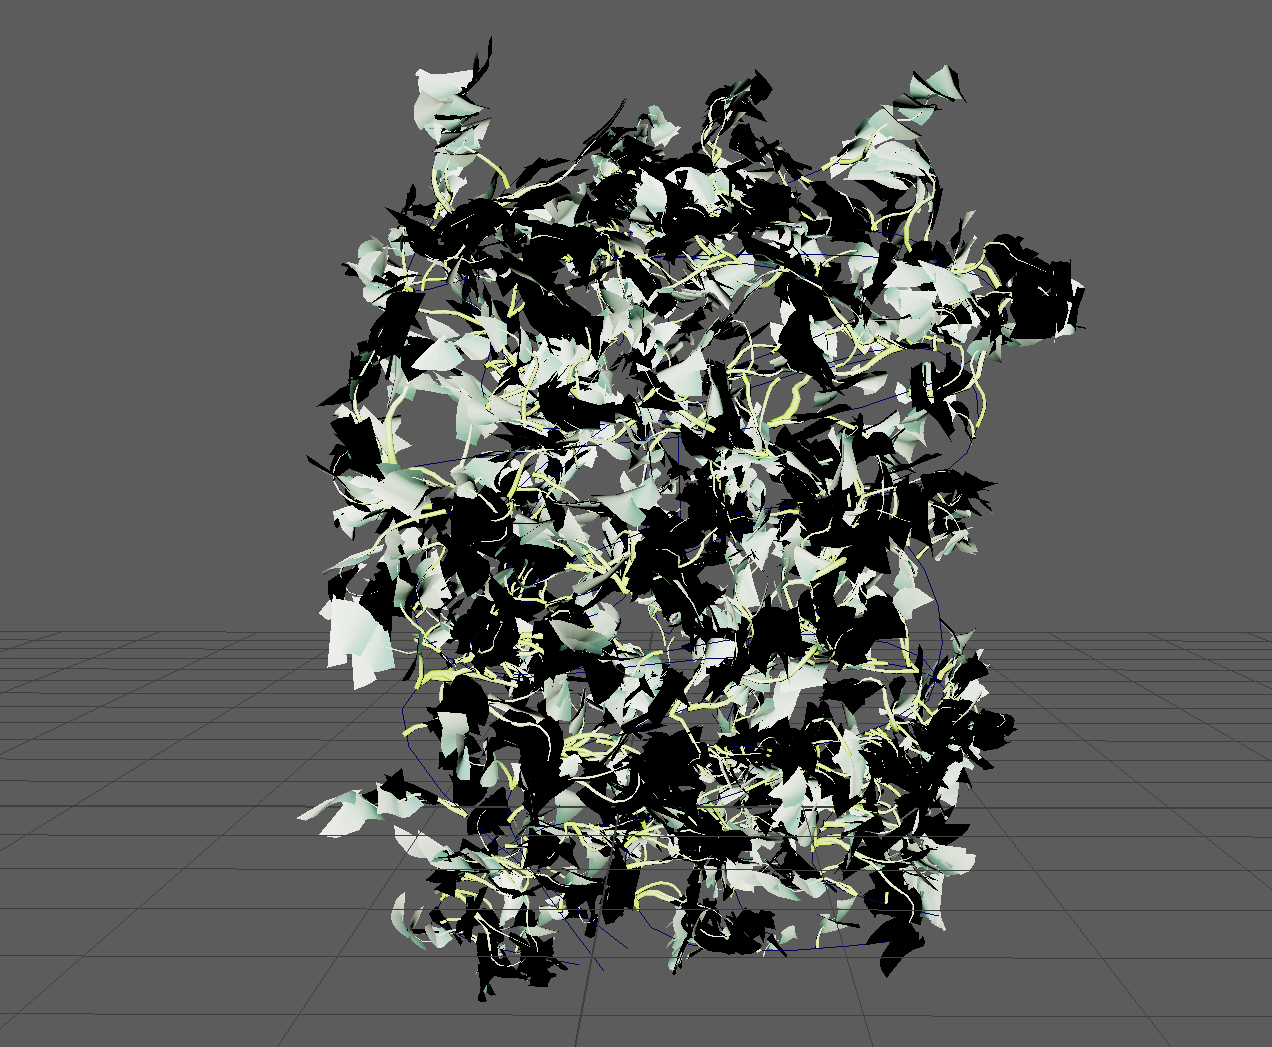
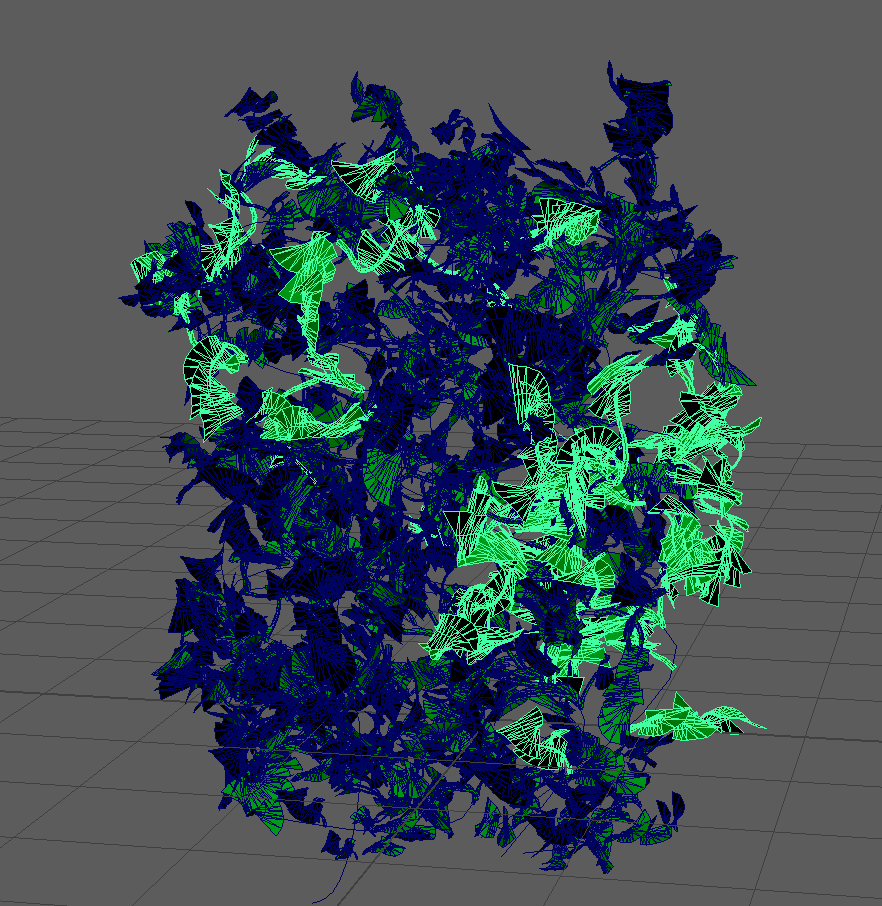
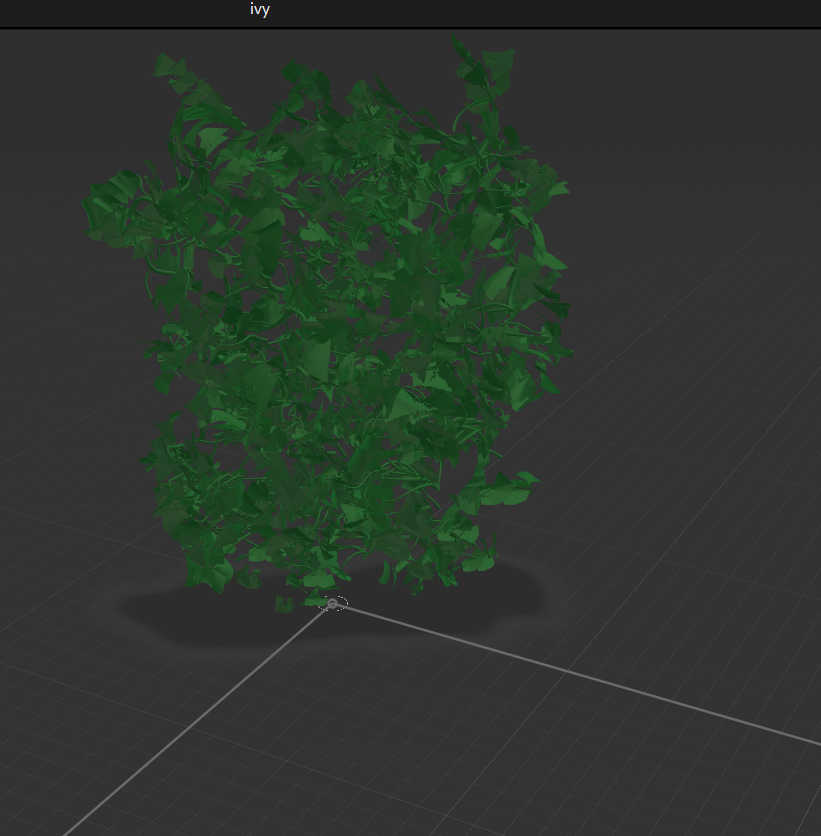
The climbing ivy wall is intended to create boundaries, provide a privacy screen, and add an evergreen plant to the user’s garden, this can be used to create walled-off sections within the user’s gardens.
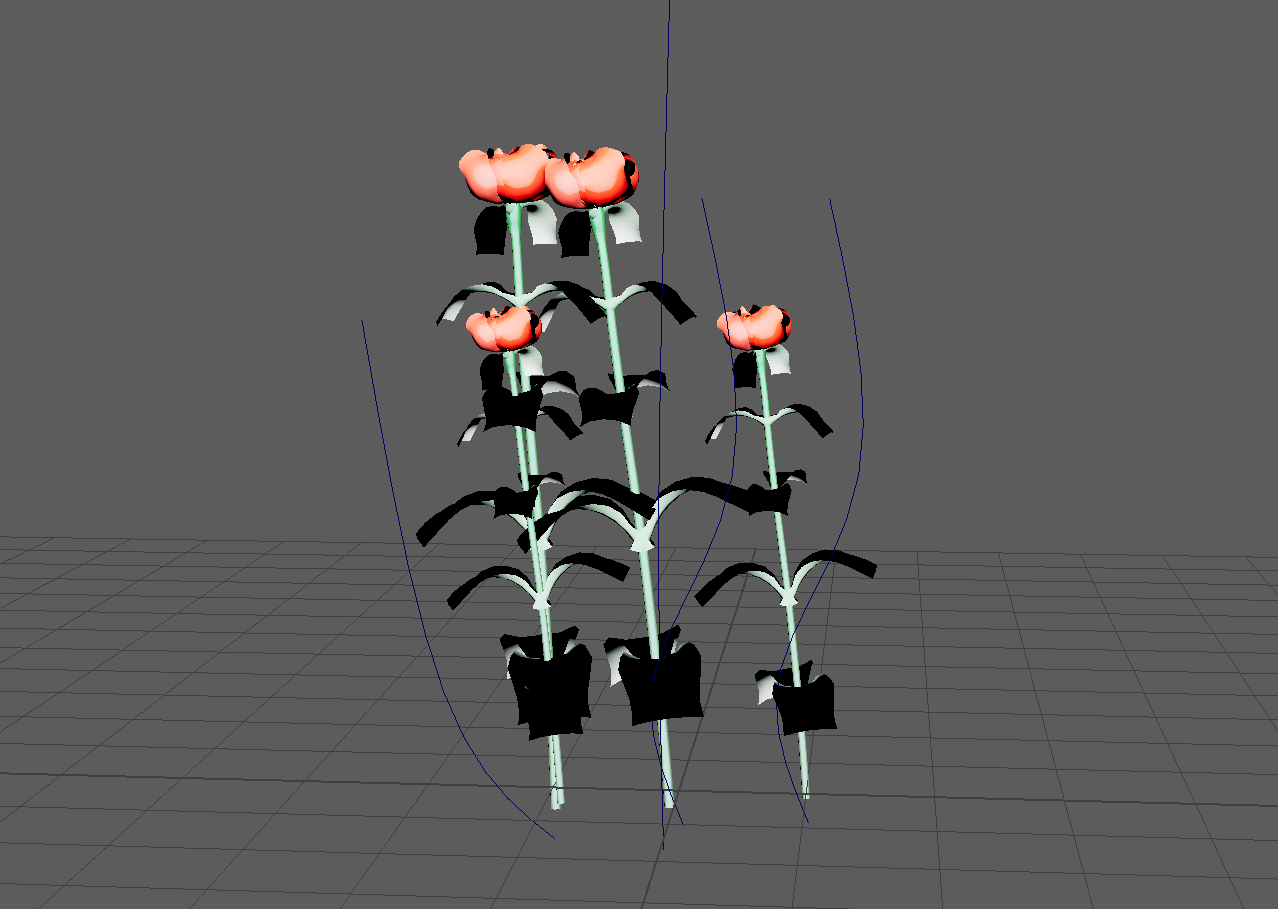
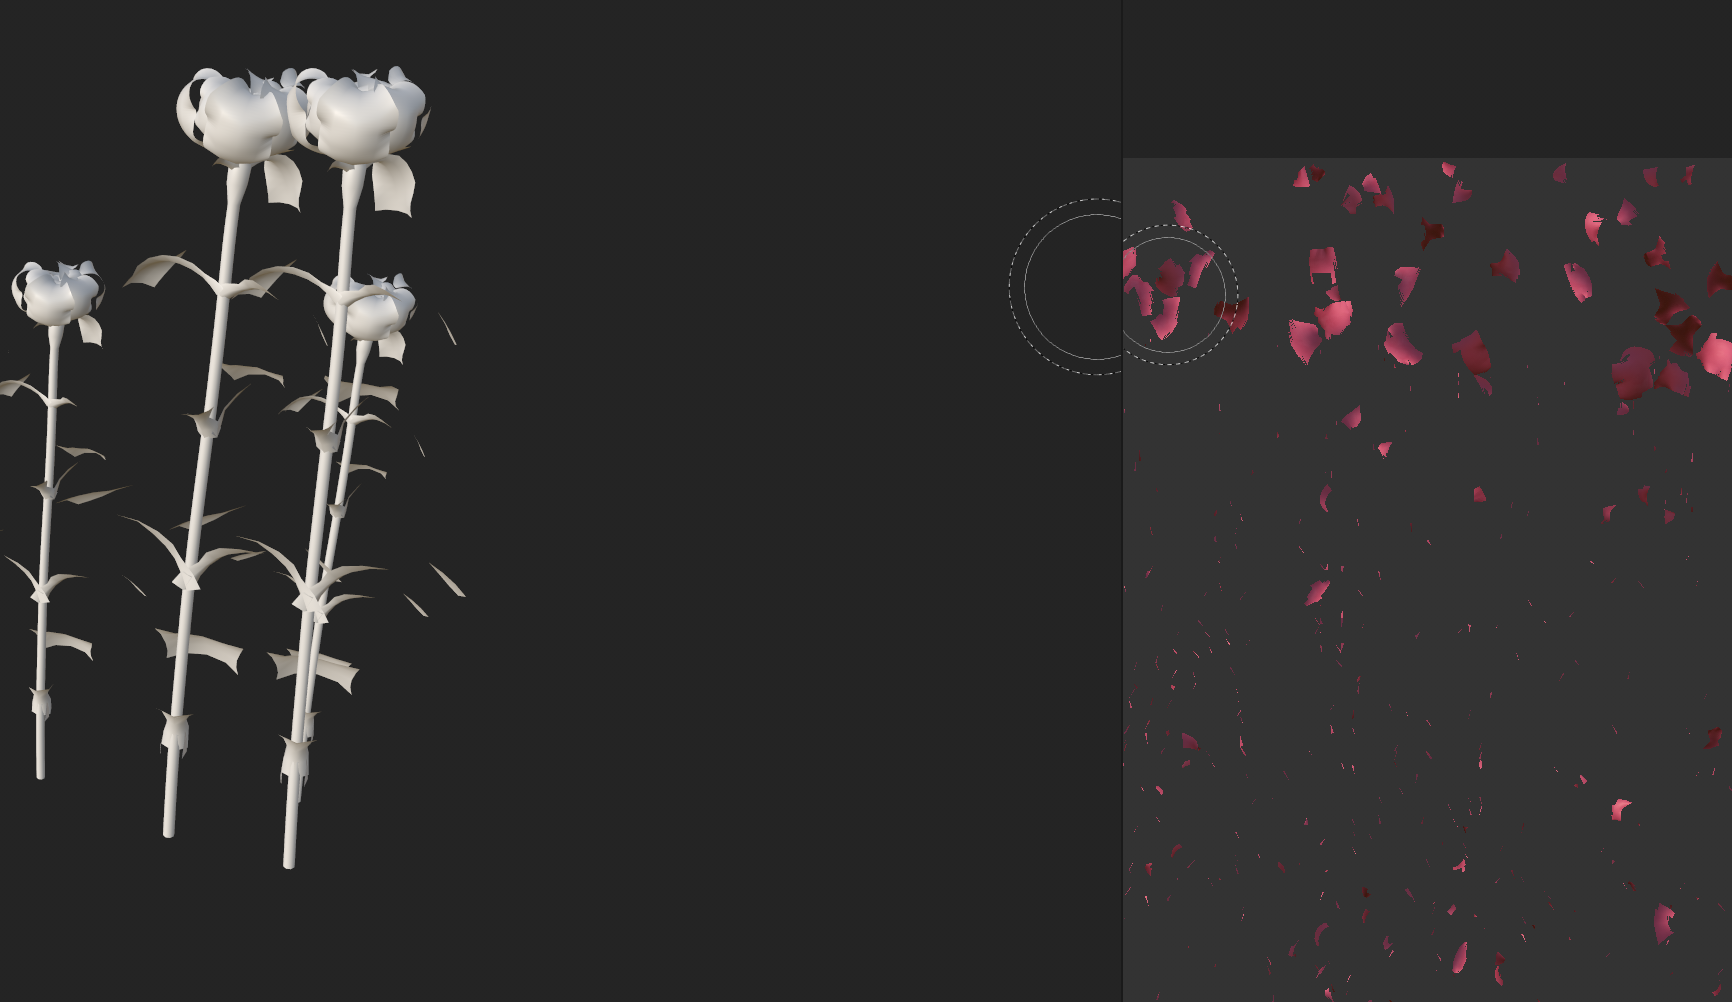
The roses are part of the Maya brush assets but may be useful for users to create a thick ground cover with a perennial plant as a visual guide to view how a patch of soil may look with plants there.
3D Maya Assets Screen Captures
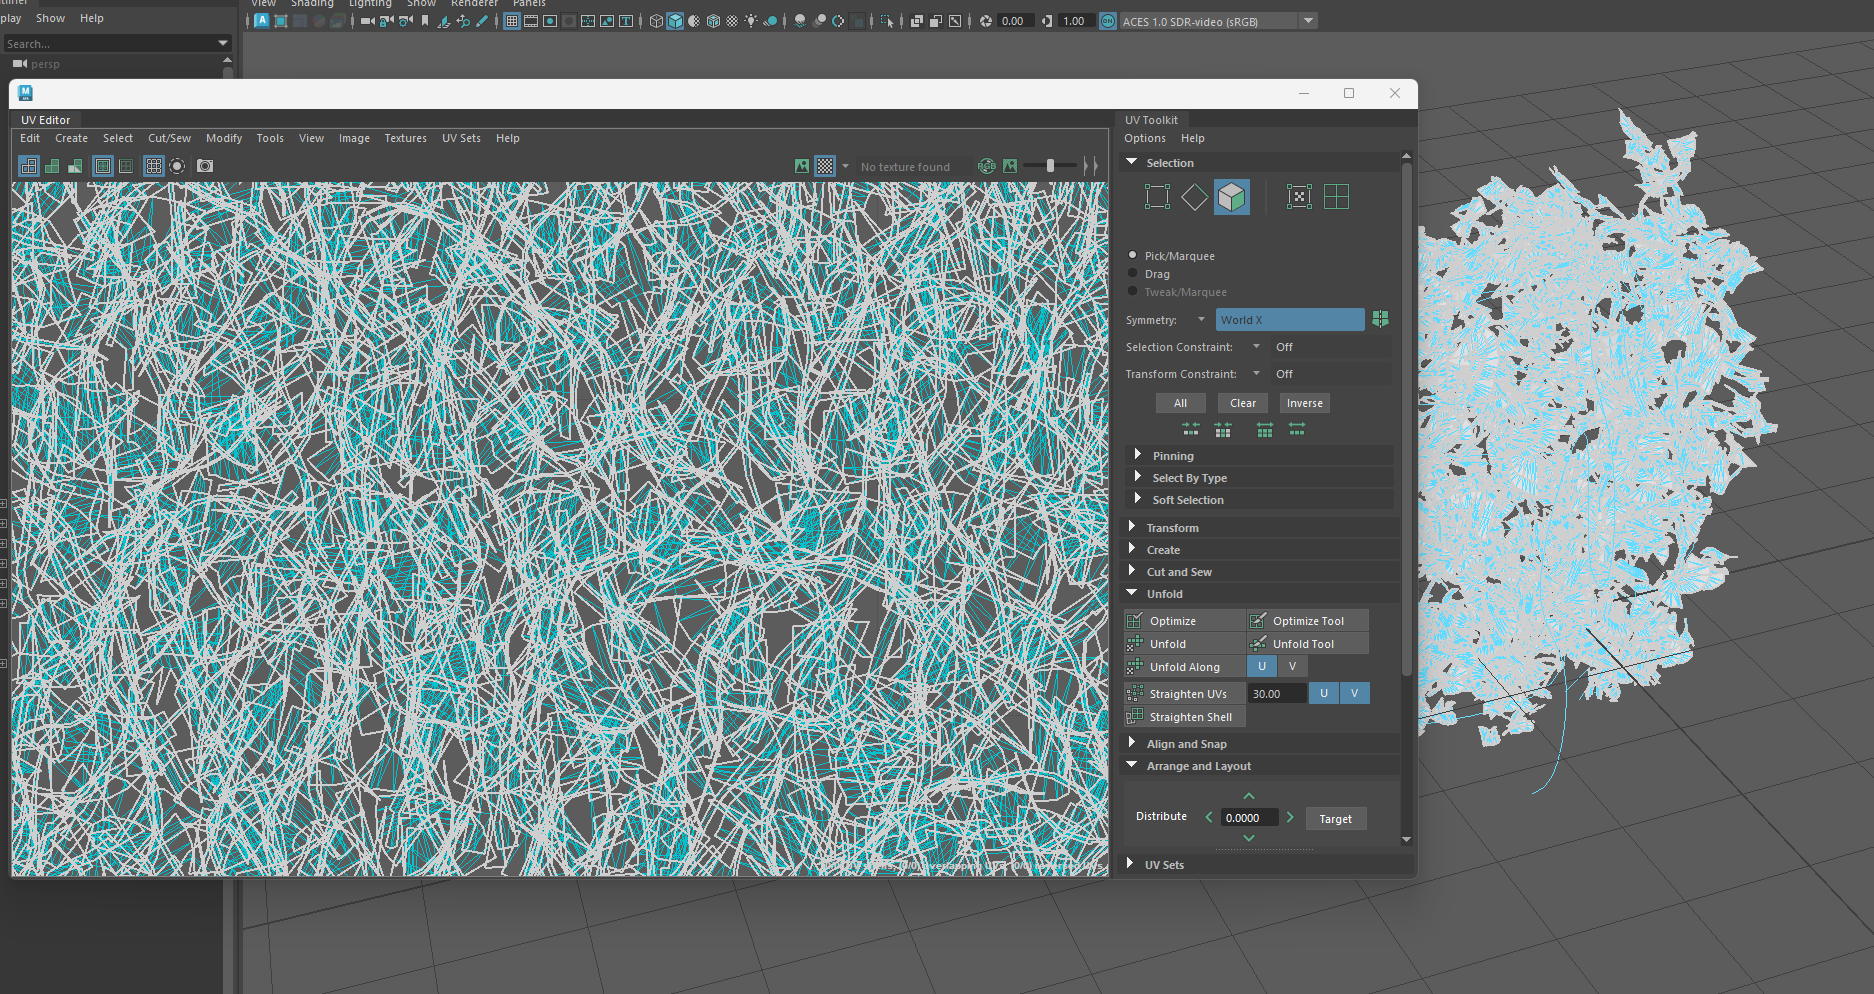
Maya UV Unmapping
The models will be UV unmapped to allow the polygons to be corrected and adjusted so that any textures applied will not be stretched or distorted in the next stage.
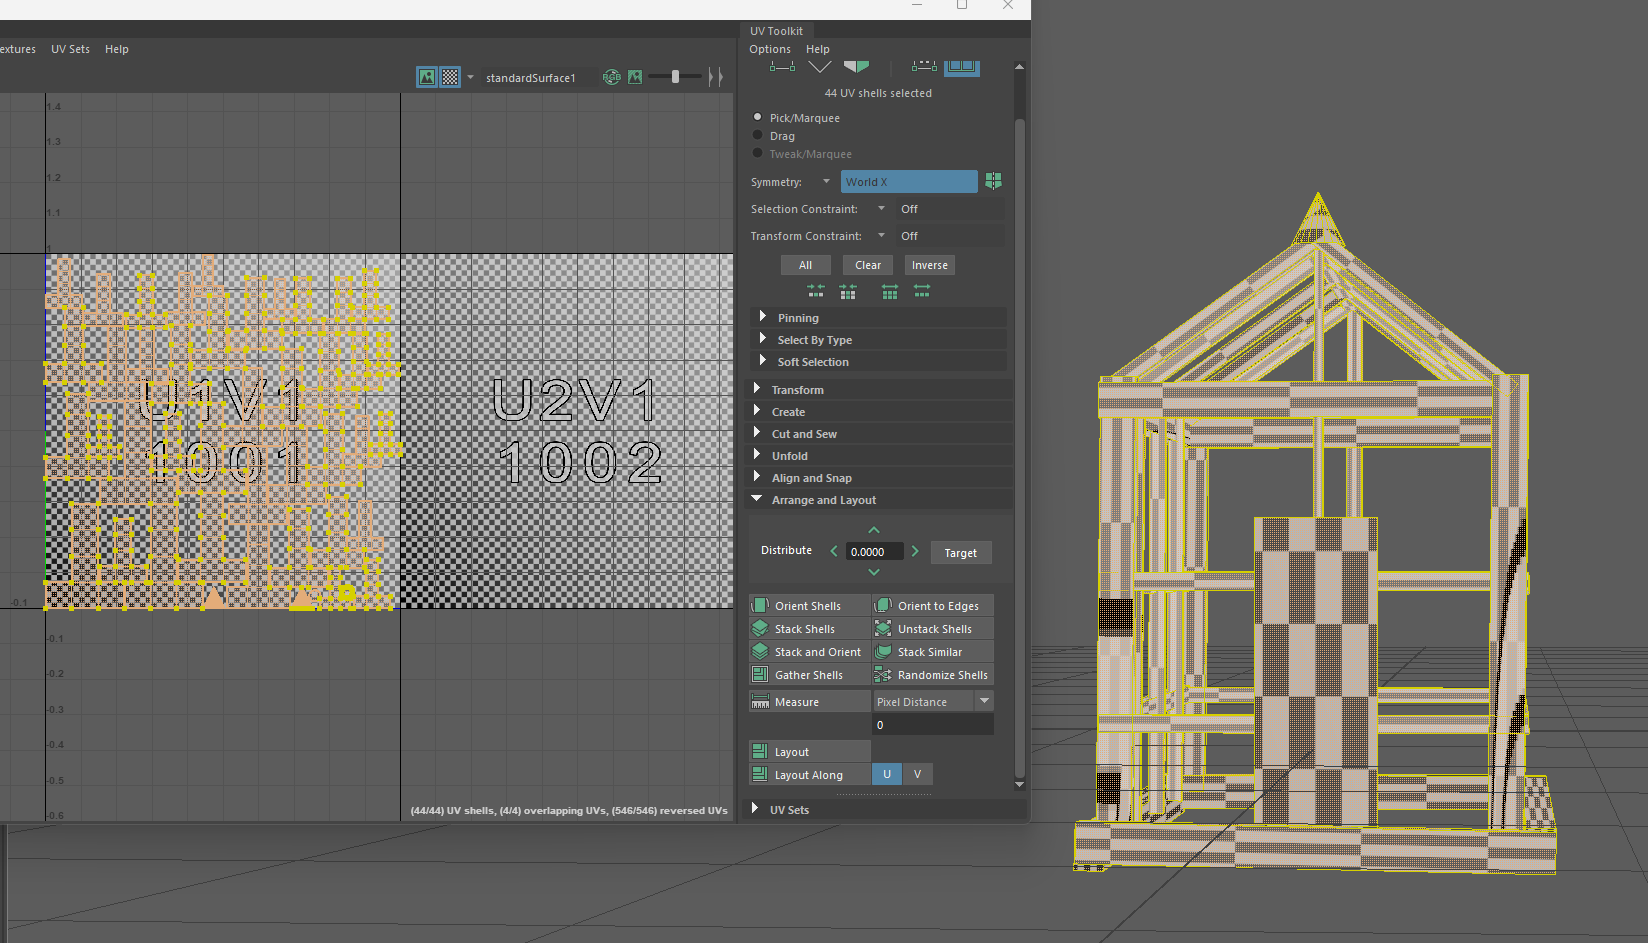
On models that used brush strokes from the Maya library, some adjustments were needed to UV unwrap. Initially, the brushes had to be converted to polygons to UV unwrap the shapes for exporting.
Substance Painter
After exporting from Maya as an OBJ file, the assets can now receive texture and colour. There are some limitations to this regarding foliage as there are not too many options available.
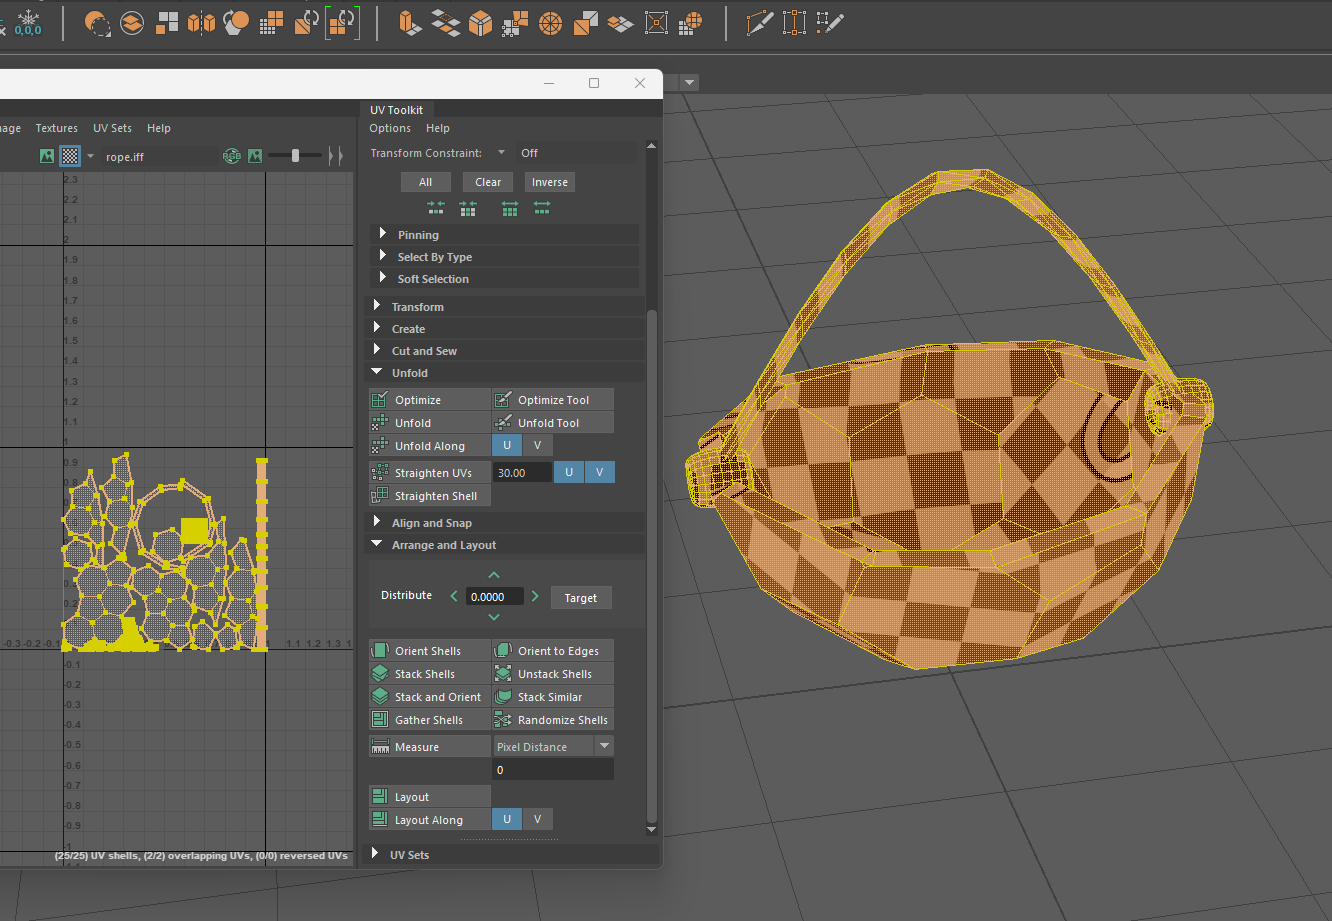
The greenhouse has a few possible options when it comes to texture, the users may want a traditional wooden cottage-style greenhouse, or the more commercially known aluminum framed greenhouse, both are explored in Substance Painter below.

As there were limited options for foliage, the apple tree was given an autumnal leaf colour, as this created variation in the leaves as well as a better realistic visual compared to block green leaves.

A wooden grain texture effect was added to the raised bed.

Maya Adding Texture Map
The textures were added to the original model in Maya by assigning the material as Lambert, then choosing the file from Adobe Substance Painter and applying it to the model.

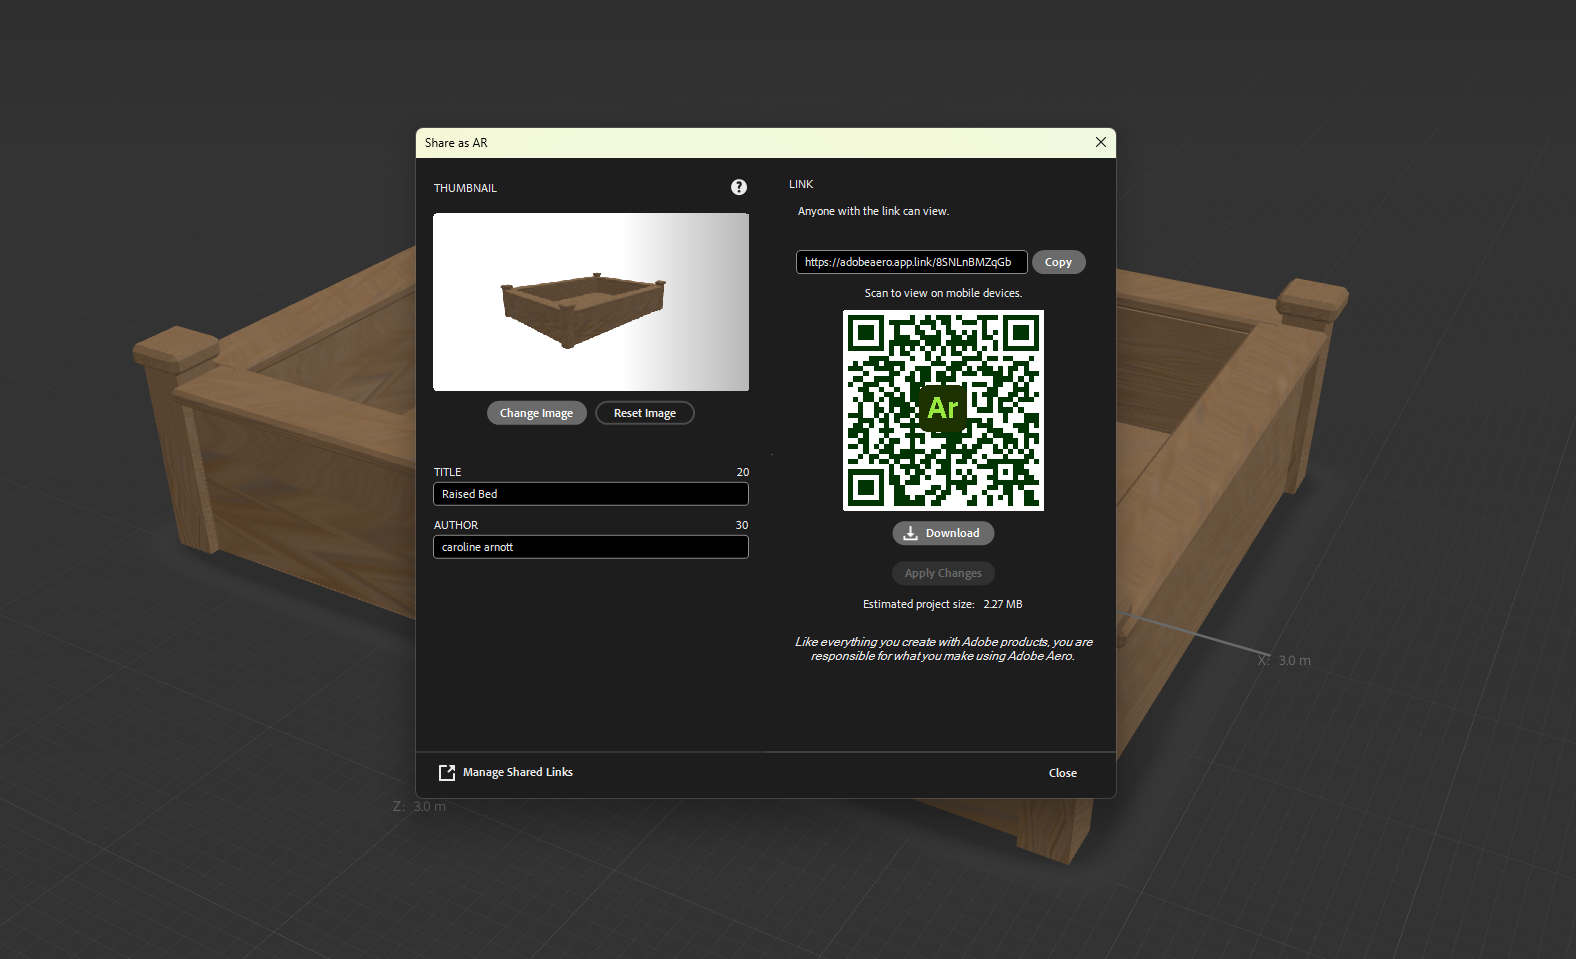
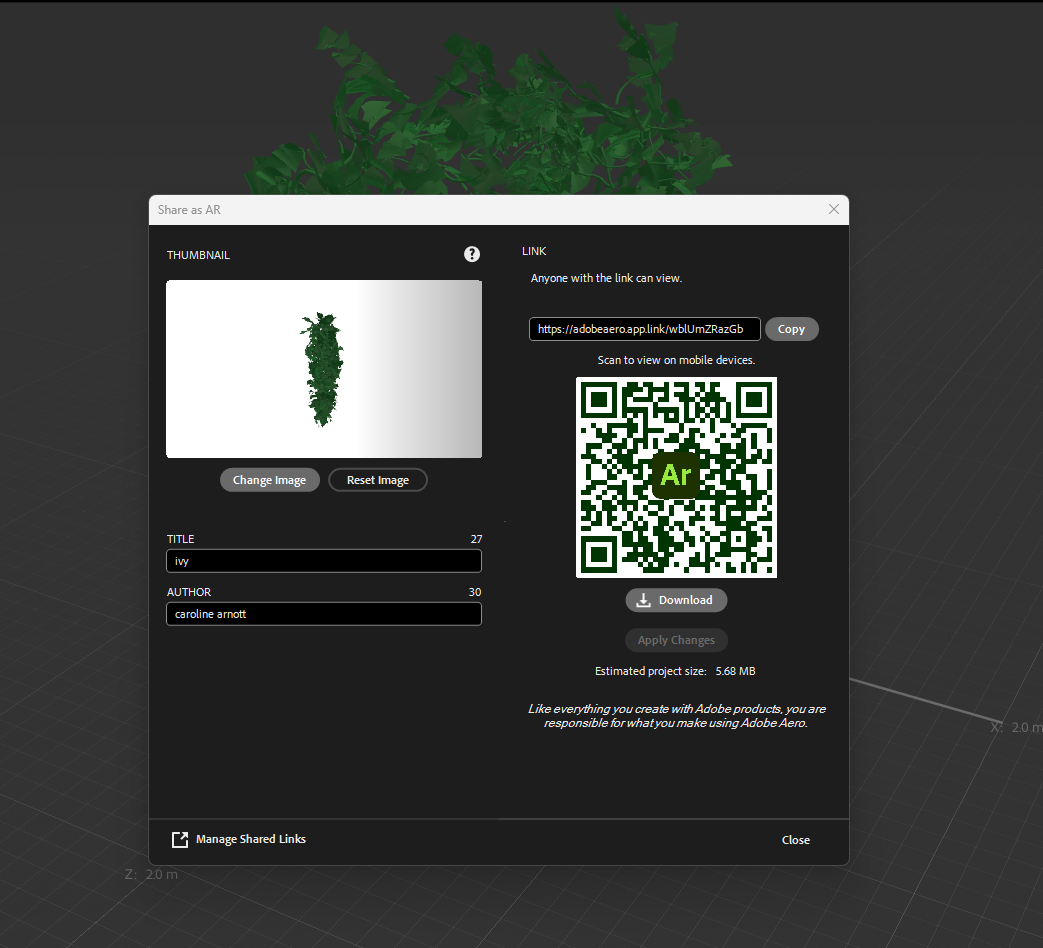
Adobe Aero
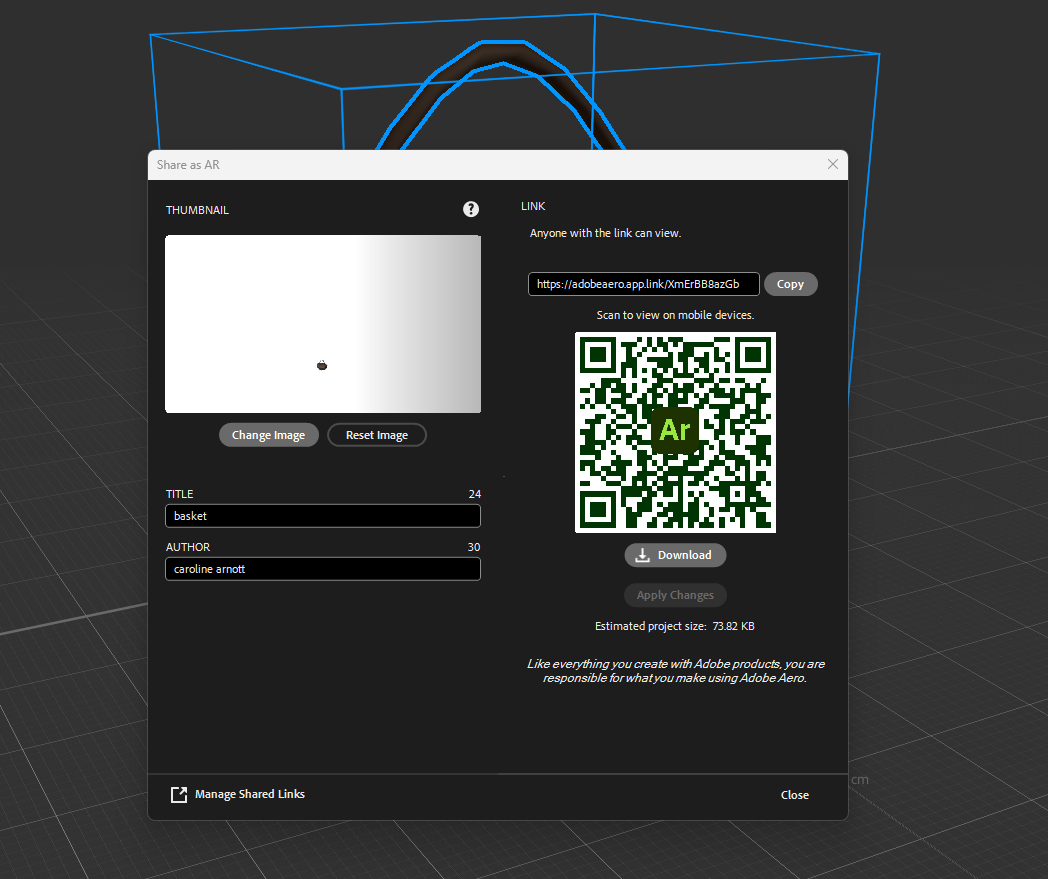
The AR assets can now be viewed in Adobe Aero, this allows for the final stage of setting the correct size for the assets to appear in the live camera scene. A QR code is generated on the share option which can be used to view the assets live from a smartphone camera.


Live Camera Scene Testing
The video demonstrates the different AR assets in a live scene, showing their size and design variation, this will be useful for users to visualize how a plant or structure will appear in their garden.
Software Testing and Complications
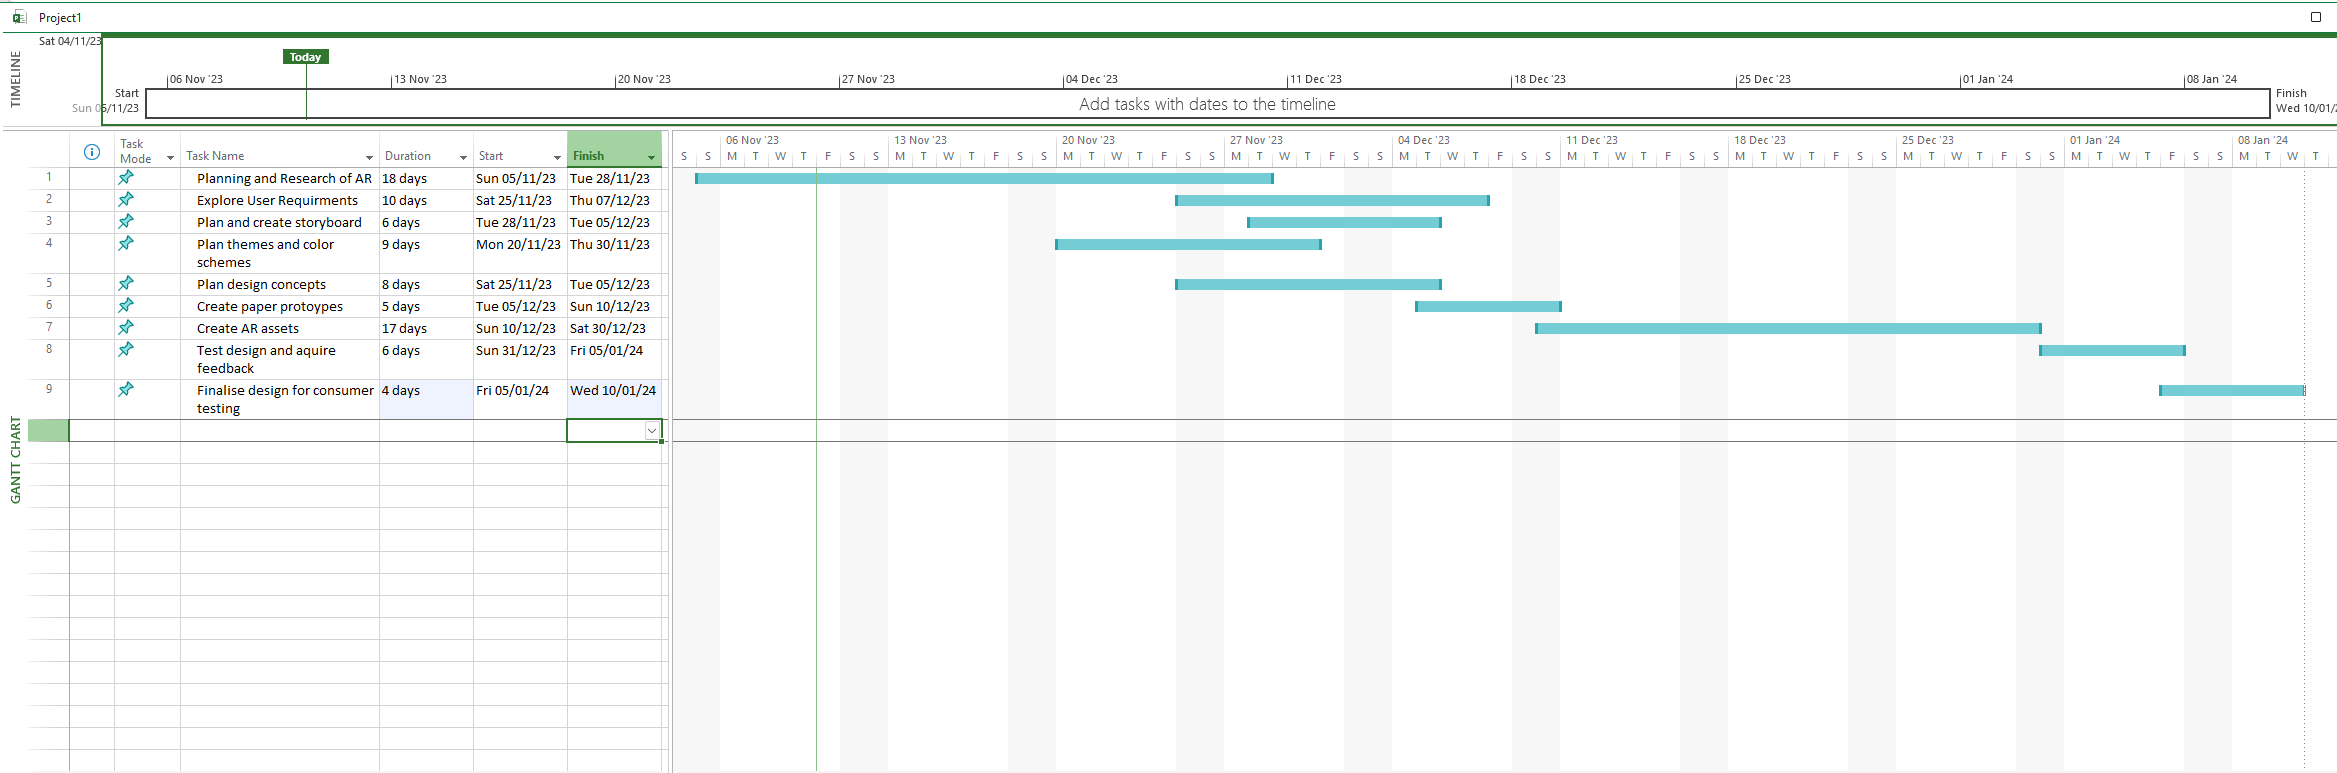
When looking at the Gantt chart, the tasks were completed on time and effectively except for the creation of the AR assets which took a significantly longer period due to software shortfalls and complications, some of these are explored further below.
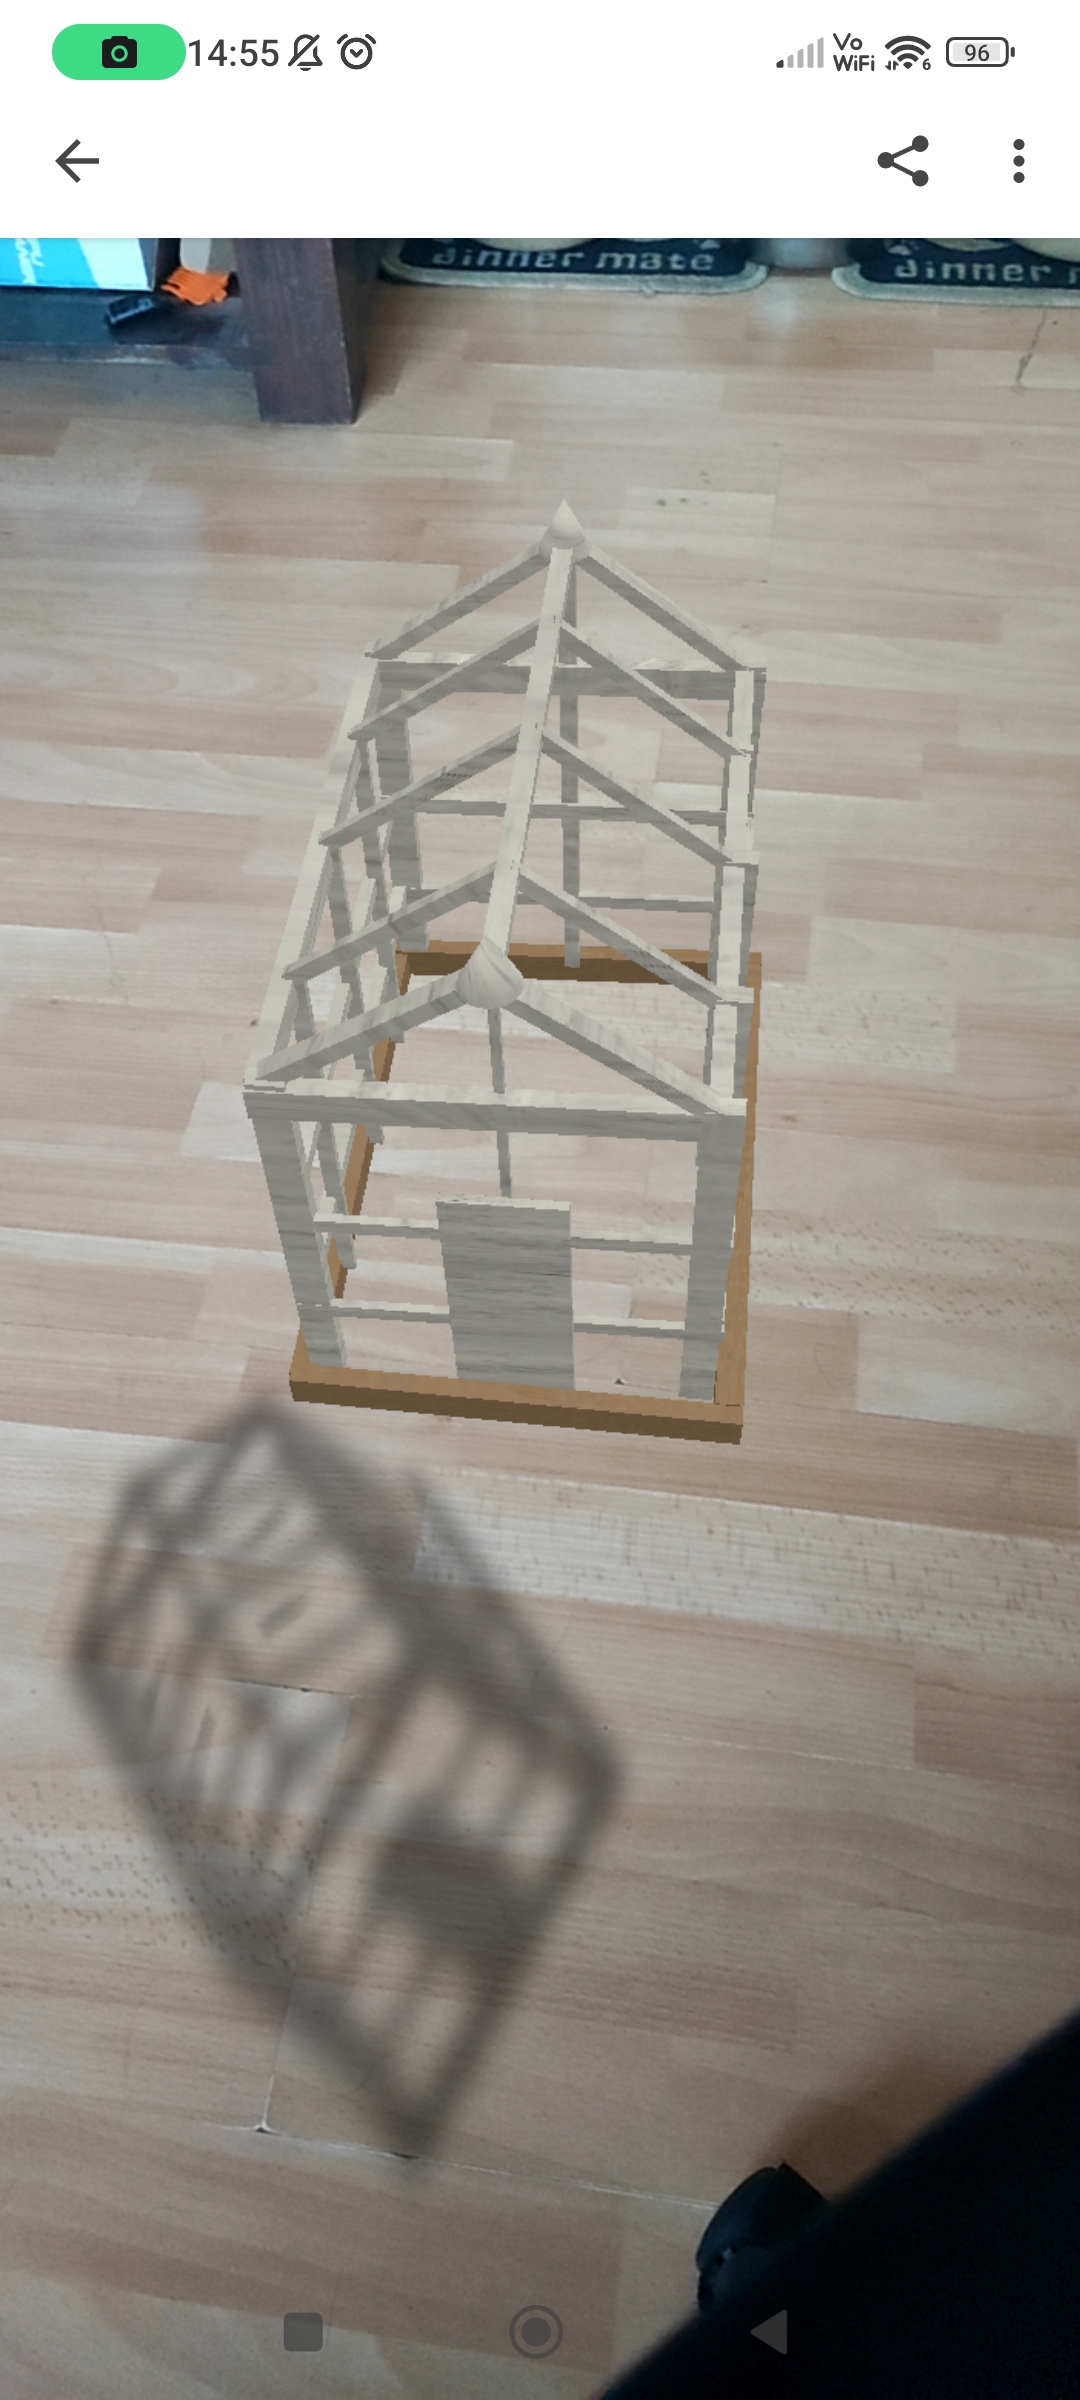
When testing the assets live it is important to size them correctly or they will not be realistic to the original vision, for example, the greenhouse above is far too small to create the correct visuals for the user.
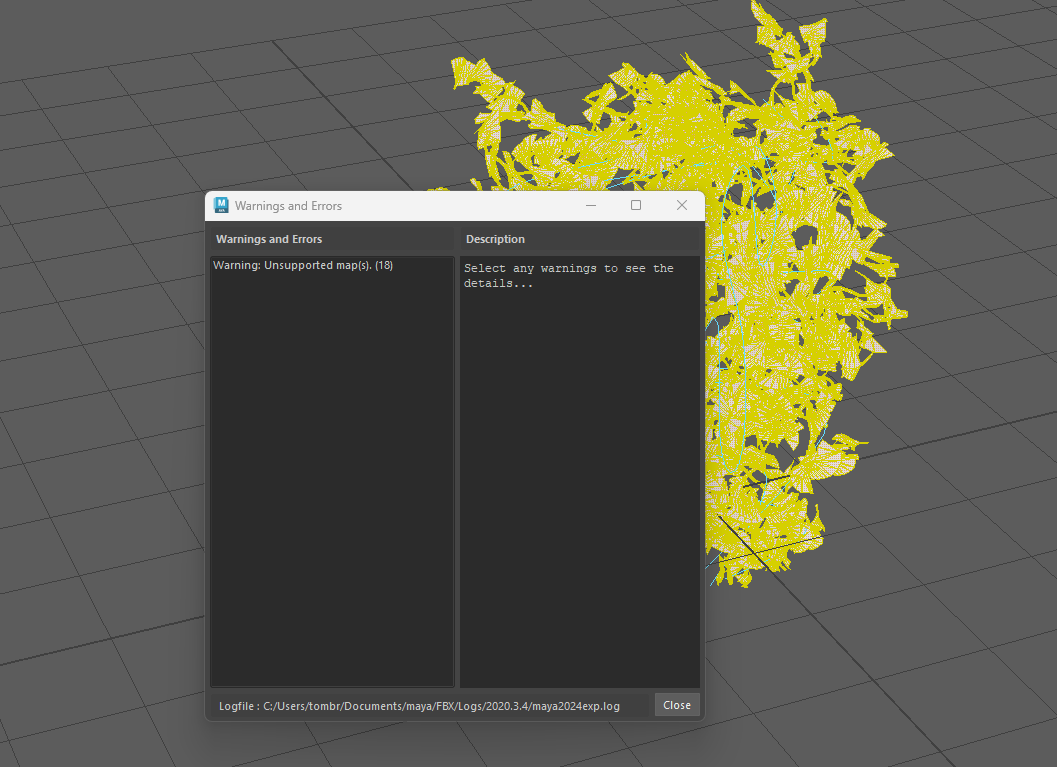
After multiple attempts to UV unwrap the ivy wall, it seemed that only one path within the group of plant stems would be available for adding texture in Adobe Substance Painter, therefore specific leaf and stem texture and colour could not be added, resulting in the ivy being solely one colour instead which was added in Maya instead.
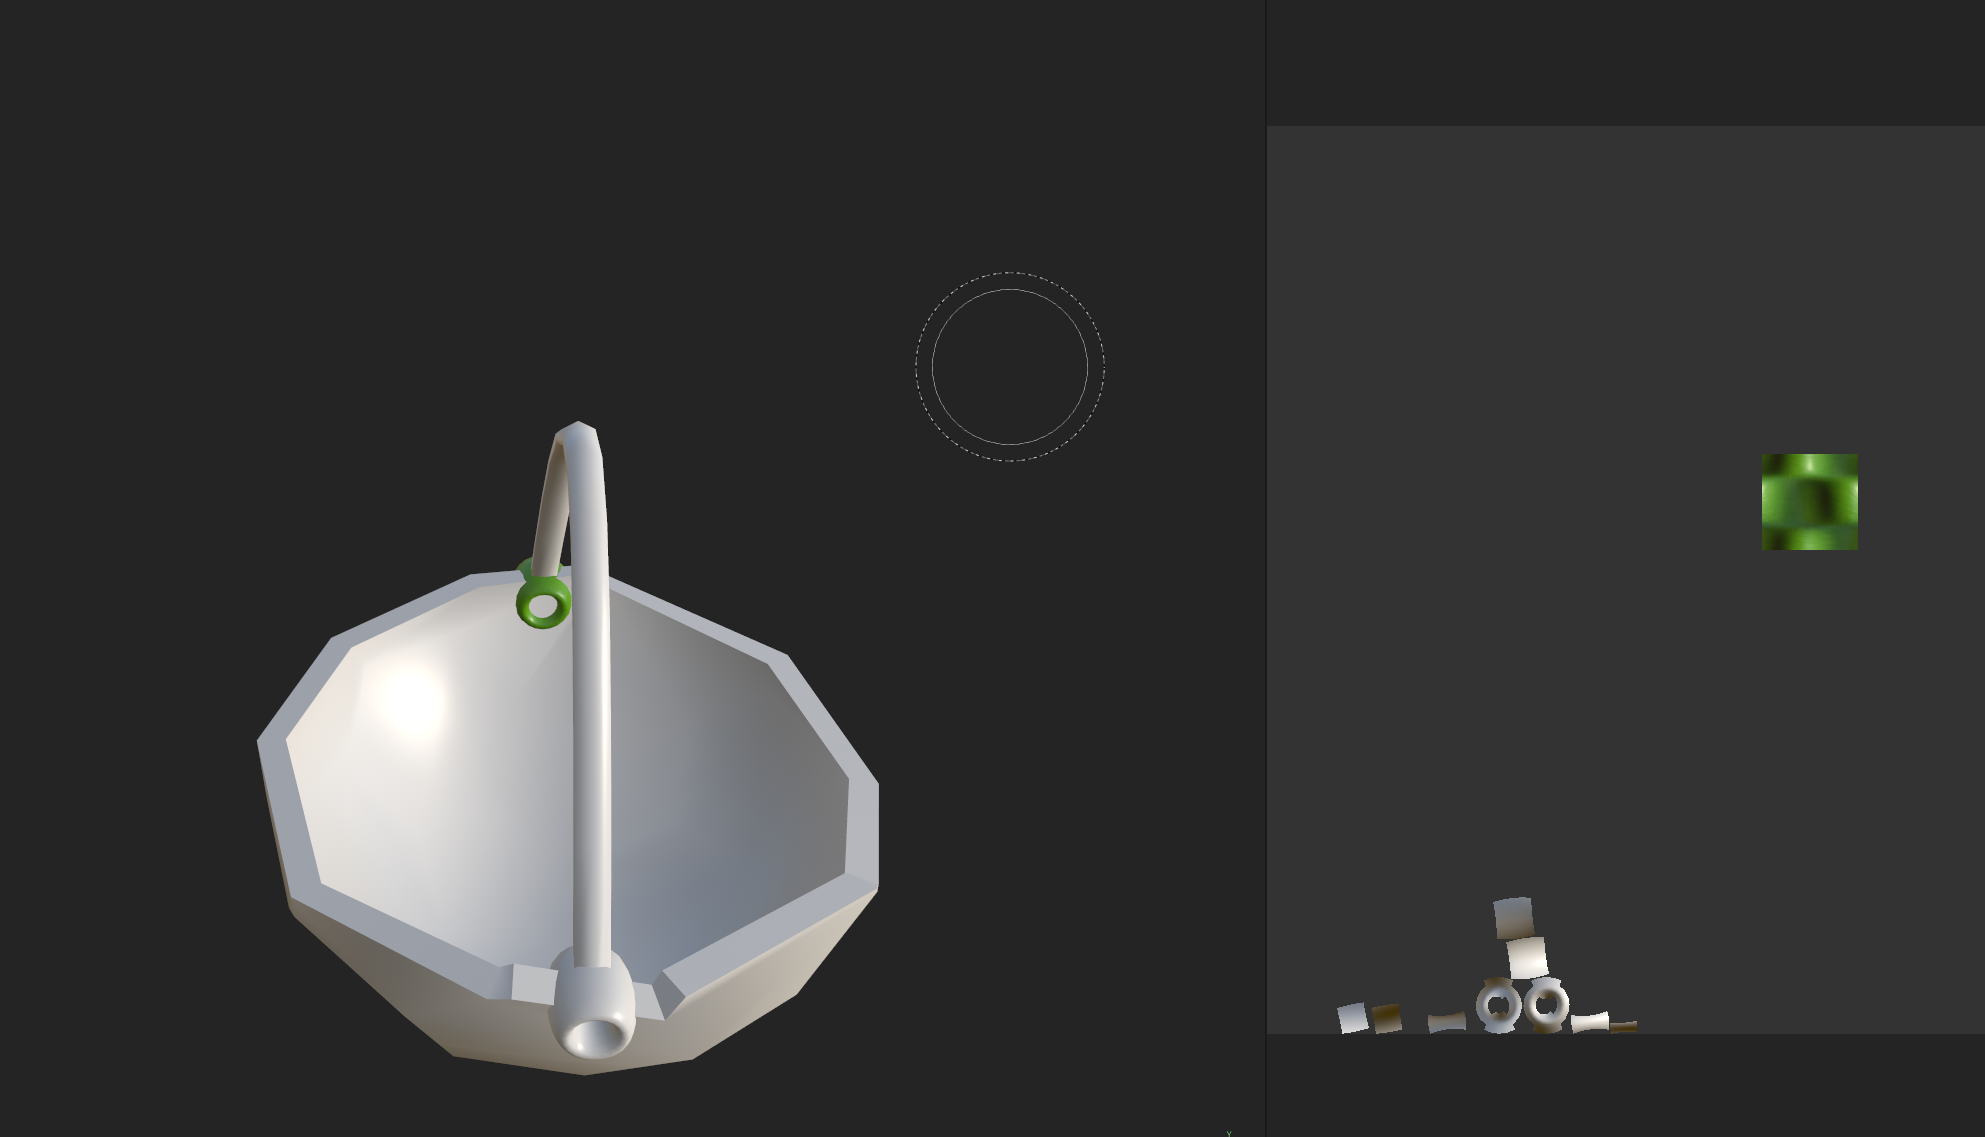
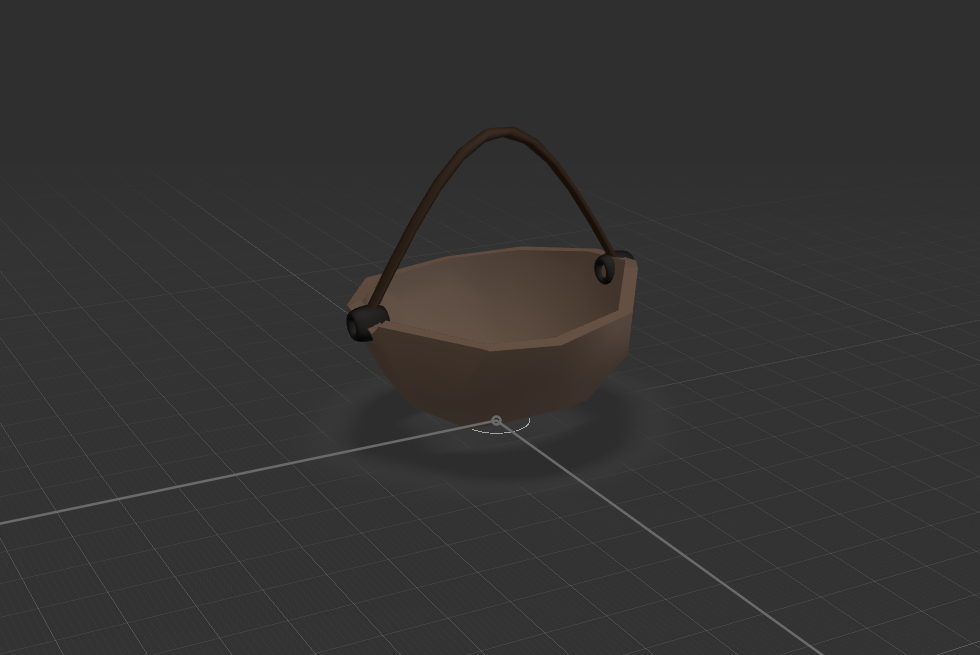
After UV unwrapping the basket it seems that in Substance Painter only a small section could be coloured, this resulted in the basket being coloured in Maya instead.
The hanging basket is intended to hang from height, however, Adobe Aero only allows assets to be placed on the surface, meaning the basket can only be placed on the floor. Also, the size of assets can’t be adjusted in the live camera mode meaning that assets must be sized appropriately in Adobe Aero before sharing.
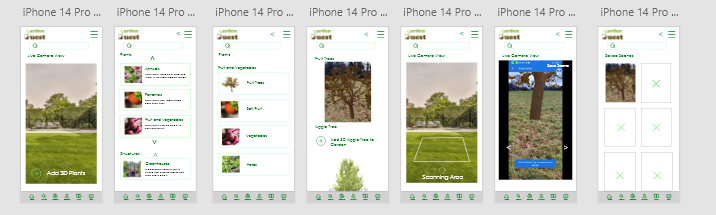
Garden Quest App Prototype with AR View
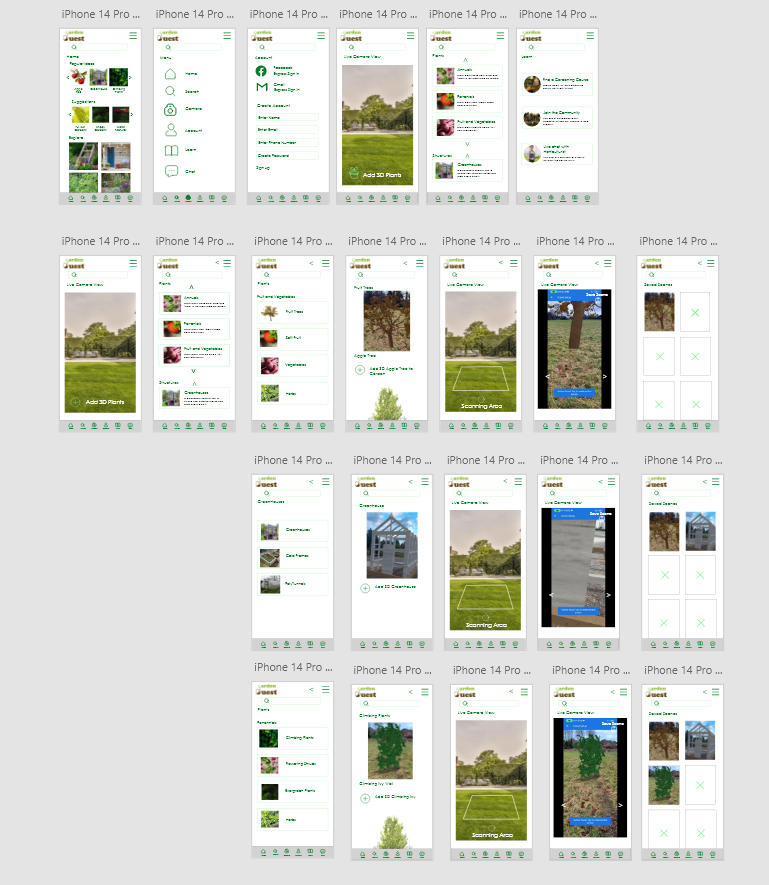
To the XD prototype, additional screens have been added to show different pathways that the user can take when selecting an AR asset. This now includes the live camera view of an asset being added to the scene.
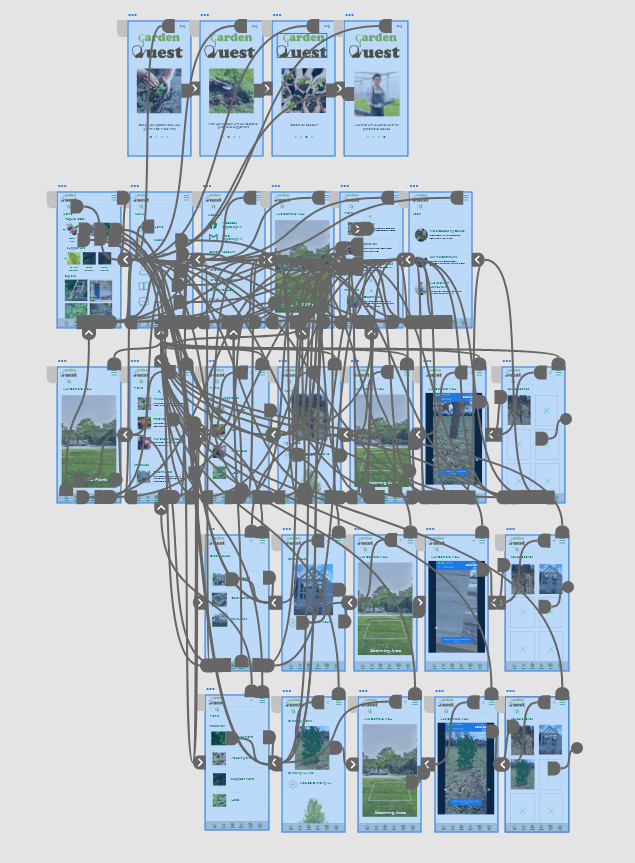
User Flows
The screens a user will see from left to right, showing the amount of steps needed to complete the action of adding an AR apple tree to a live scene, this is repeated further in the two photos below.


Garden Quest App Prototype
The link below will demonstrate the Garden Quest App with the different paths available for selecting, adding, and saving an AR scene.
Further User Testing
The same testing group was used in the final prototype testing. The users were asked to use the app without instruction and make notes of any issues with navigating or app functionality.
One of the participants suggested rewards for creating engaging AR scenes that could have a ‘like’ button for other users on the community page to engage with. This would create brand trust and familiarity with users as most social media already have the ‘like and comment’ functions.
Forward-Thinking
Further ideas for developing Garden Quest include;
- Create 3D four-season assets, showing a change in colour and foliage based on the time of year
- Enable resizing of objects in the live camera and the ability to add more than one asset to a live garden scene at any one time.
- Add a plant and tool page within the Garden Quest community, this means users could swap excess plants or tools with each other locally.
- Create relationships with retailers and garden centers to provide an online shopping page.
- Create an in-app reward scheme for different garden achievements.
- Create merchandise such as garden DIY kits for beginners, tools, and accessories to promote the brand.
Ethics
Ethical guidelines can be located in the Research Proposal.
References
Online – The Green Planet AR Experience (https://thegreenplanetexperience.co.uk) Published January 2024 – Accessed 07/01/24
Online – Potioneer: The VR Gardening Simulator – Focus on Fun Games (https://www.youtube.com/watch?v=cu0CGMWqqqU) Published January 2017 – Accessed 25/01/24
Online – Viridi Steam Release Trailer – Ice Water Games (https://www.youtube.com/watch?v=5TK3SfJR8Gs&t=43s)
Online – Images for Prototype (https://www.shutterstock.com) Accessed 01/01/24
Online Journal – Growing Urban Health: Community gardening in South-East Toronto; Sarah Wakefield et al. Published 26 February 2007 (page 100) – Accessed 10/01/24
Adobe XD Icons Plug-In